Invitations & Groups
Instead of manually creating each user, you can generate invitation links. And with user groups, you organize your staff by department, location, or area — the foundation for mandatory course assignments.
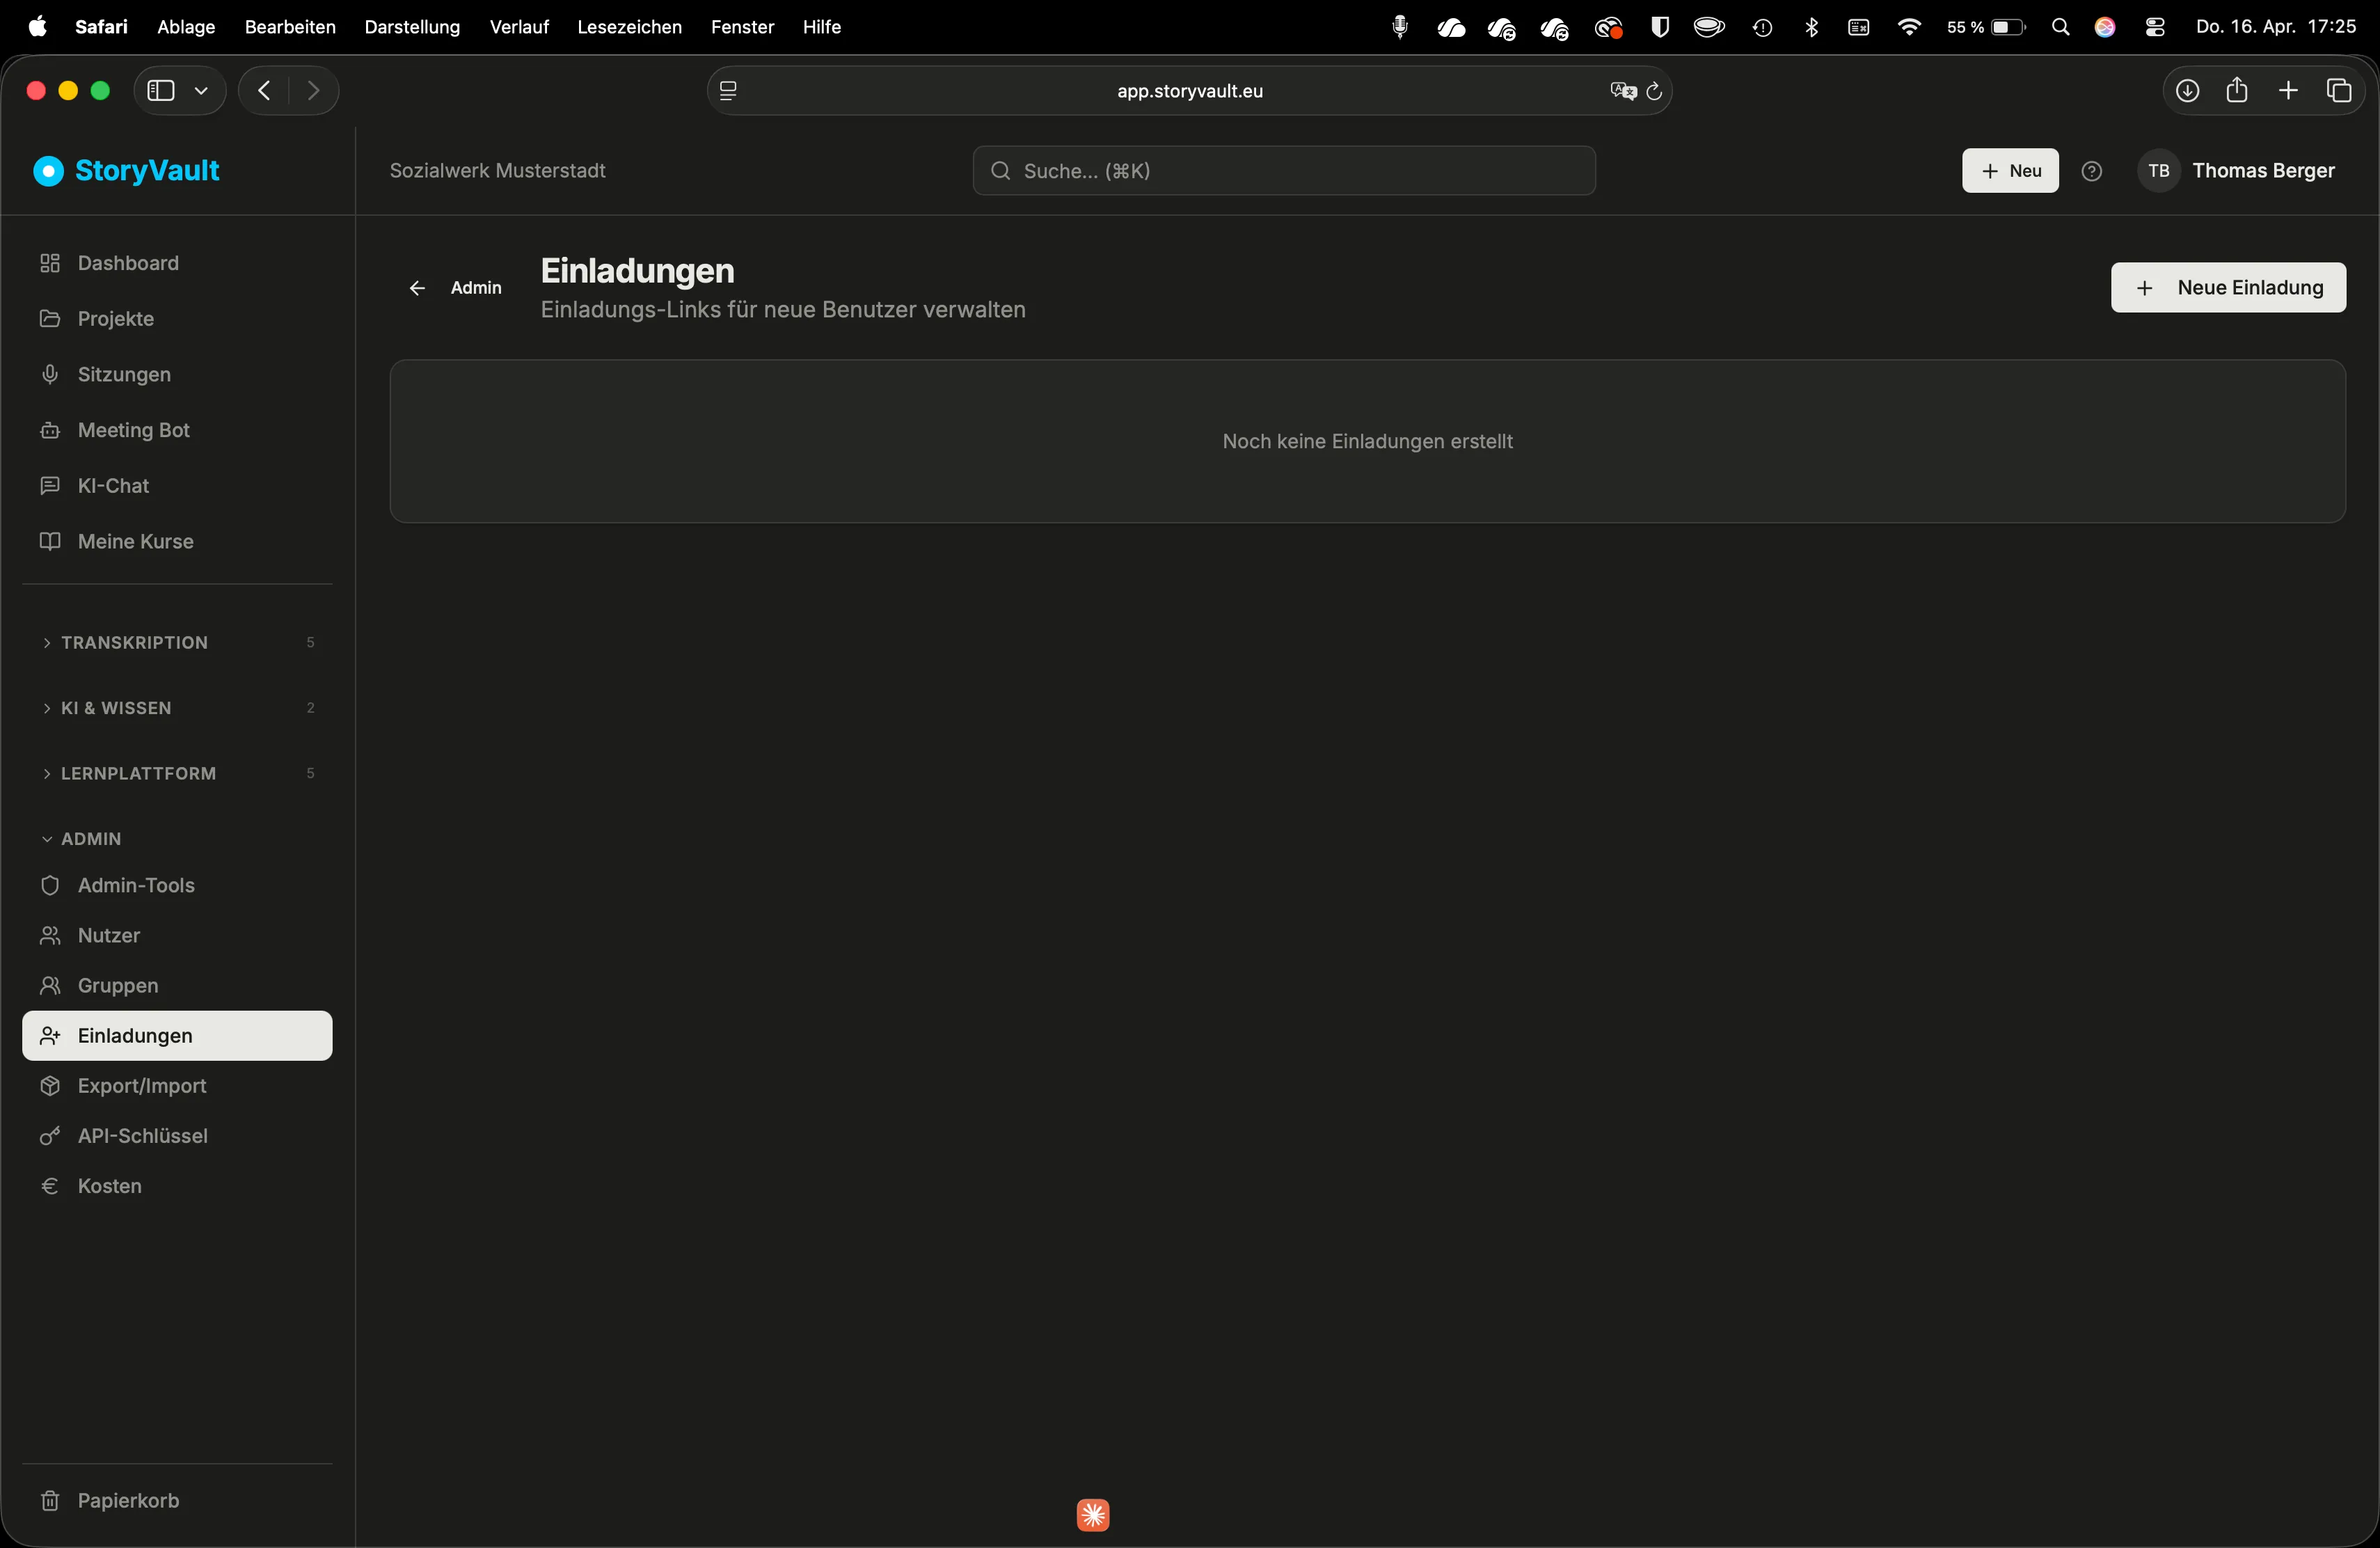
Invitations
Section titled “Invitations”The recommended way to add new users: you generate a link and send it by email. The recipient registers themselves and is automatically added to your organization.
Creating an Invitation
Section titled “Creating an Invitation”-
Open invitations
Sidebar → Admin → Users → Invitations section.
-
Click “New Invitation”
Choose the role the invited user should receive.
-
Optional: specify email address
Bind the invitation to a specific email address. Only that person can redeem the link.
-
Copy and send the link
Copy the generated link and send it by email or messenger.
Key Rules
Section titled “Key Rules”| Rule | Details |
|---|---|
| Validity | Each invitation is valid for 7 days. After that, the link automatically expires. |
| Single use | Each link can only be redeemed once. |
| Revoke | You can withdraw an invitation at any time as long as it hasn’t been redeemed. Click “Revoke” next to the entry. |
| New invitation | After expiry or revocation, simply create a new invitation. |
What Happens at Registration?
Section titled “What Happens at Registration?”The recipient clicks the link and arrives at the registration page. They enter their name and set a password. After registration, the account is immediately active — the email address is considered verified.
User Groups
Section titled “User Groups”Groups reflect the organizational structure of your facility: departments, locations, areas, or teams.
What Are Groups For?
Section titled “What Are Groups For?”- Organization — Sort users by affiliation (e.g. “Care North”, “Administration”, “Outreach Services”)
- Mandatory courses — Assign a course as mandatory to a group instead of enrolling each user individually
- Overview — In the compliance dashboard, see progress per group
Creating a Group
Section titled “Creating a Group”-
Open groups
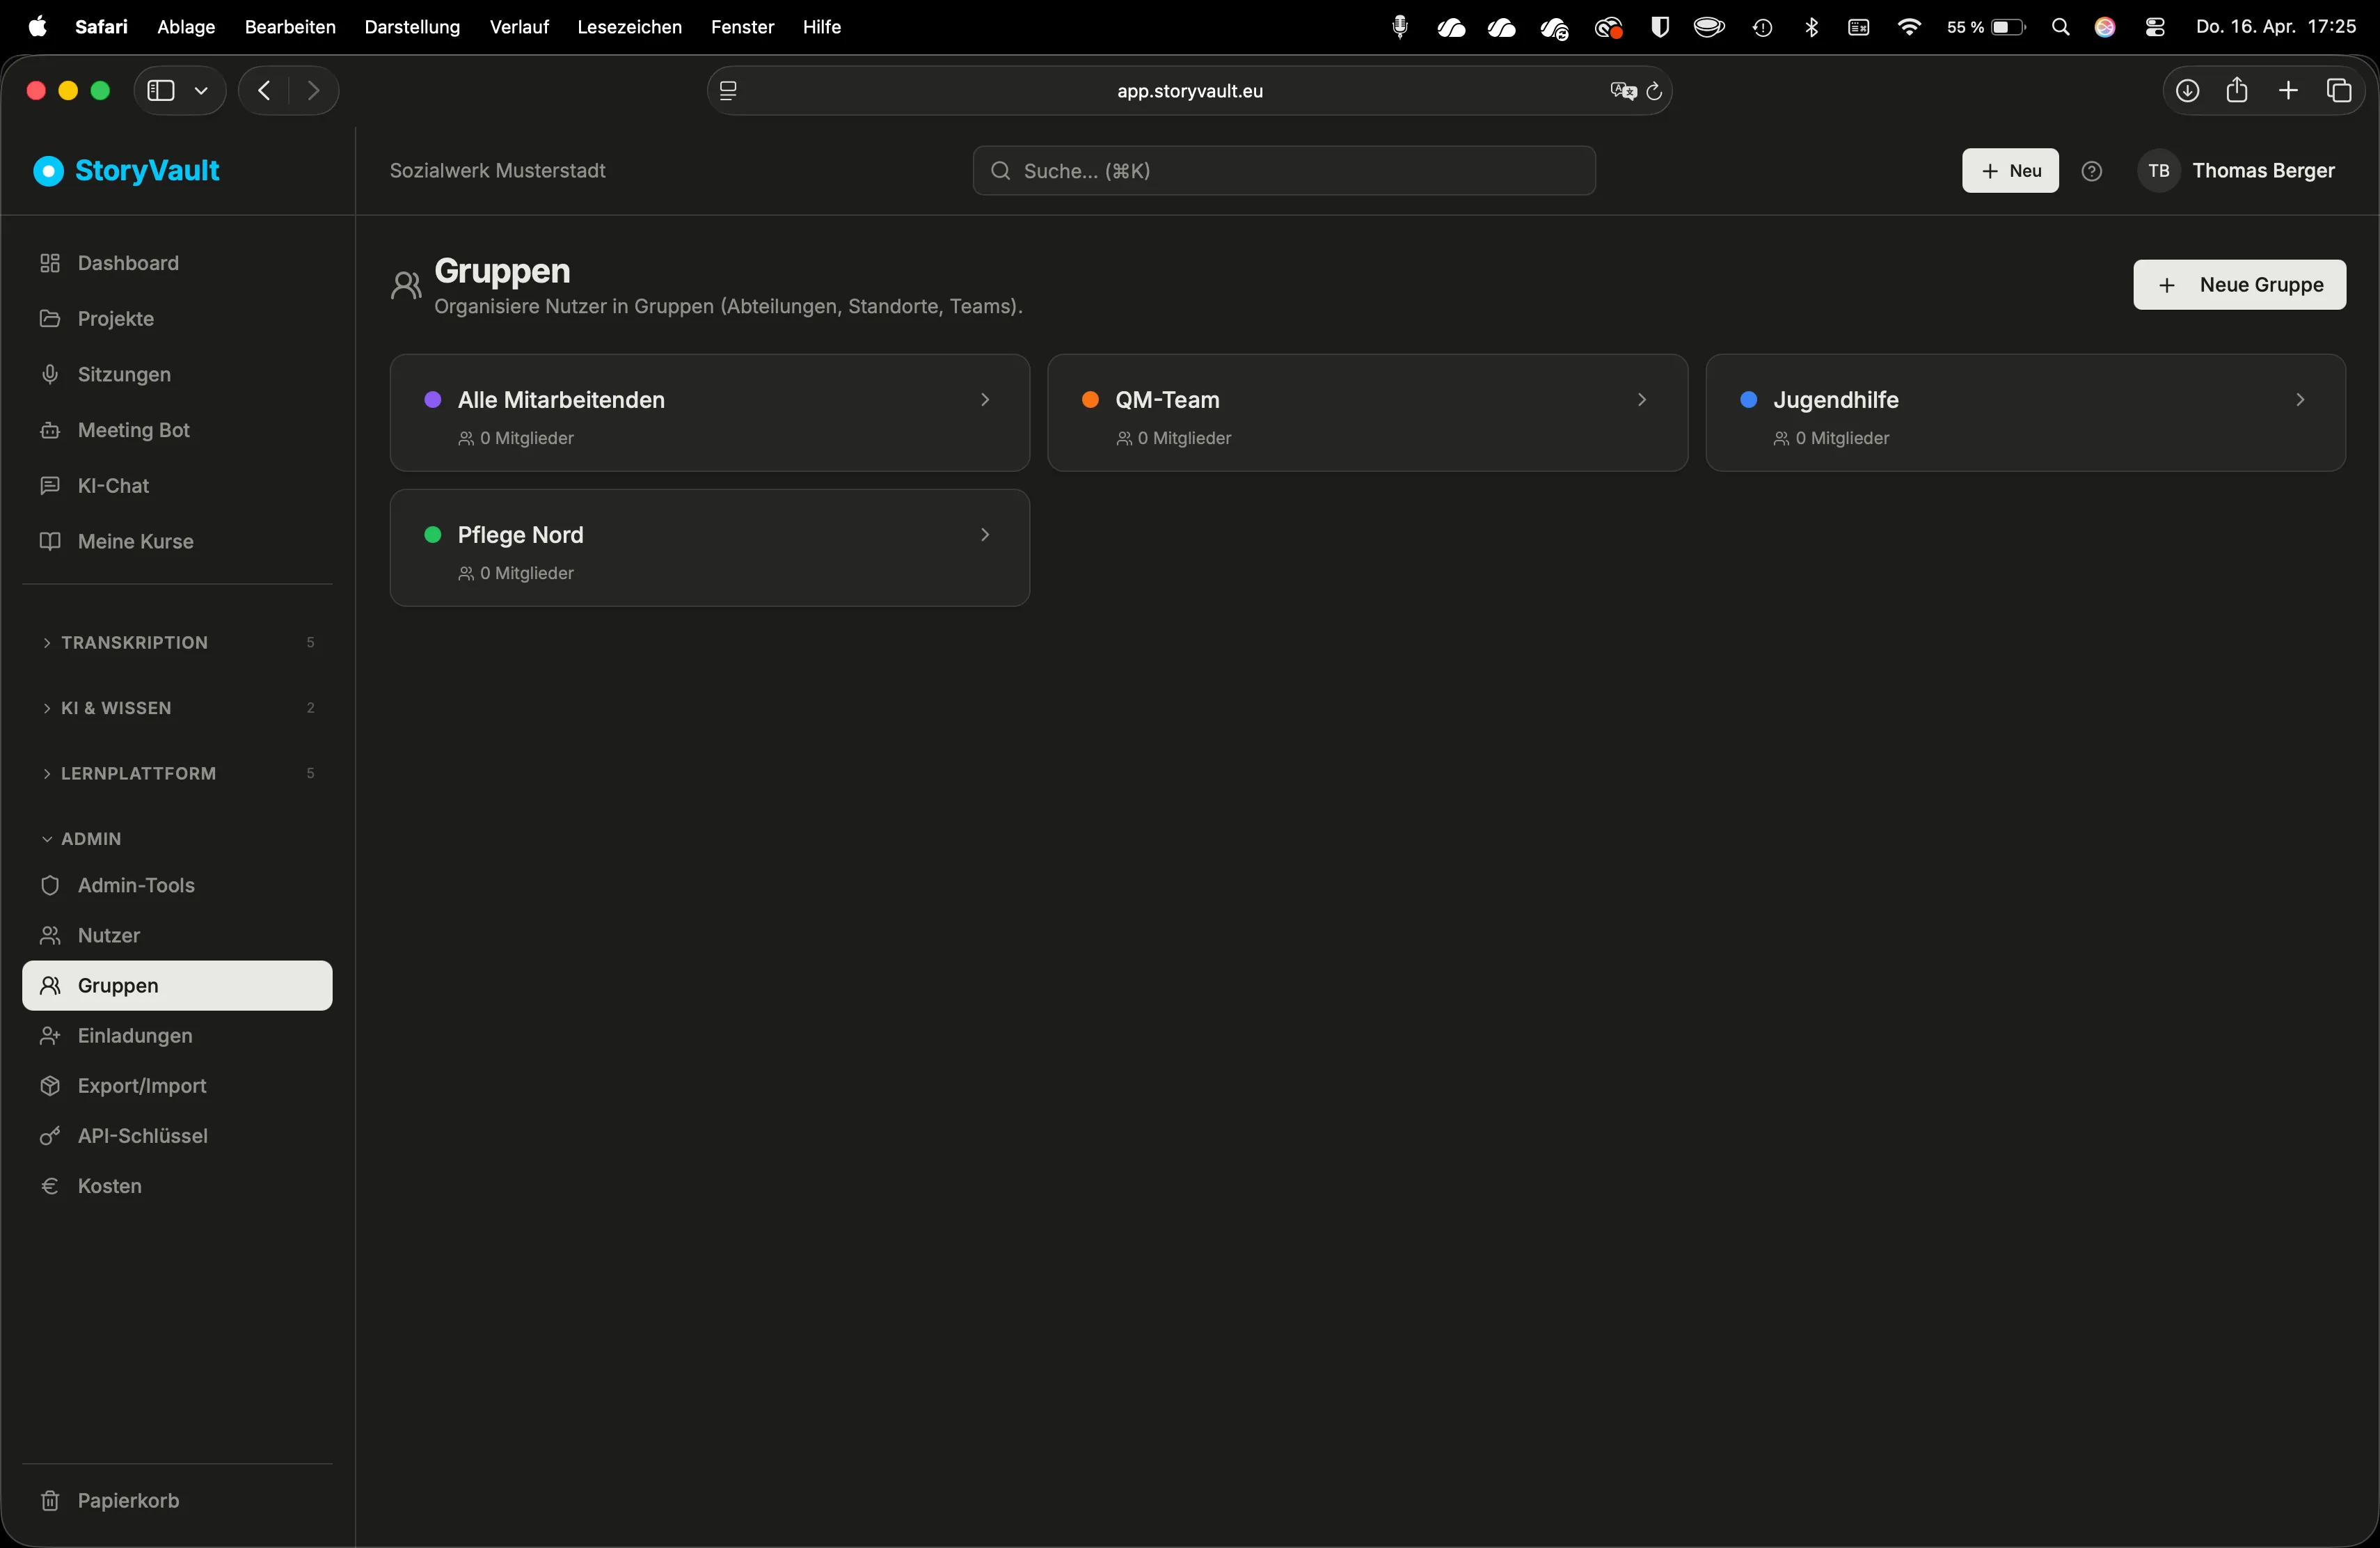
Sidebar → Admin → Groups.
-
Click “New Group”
Enter a name, for example “Disability Support – South Location”.
-
Choose description and color
Description is optional. Color helps with visual distinction in lists and dashboards.
-
Add members
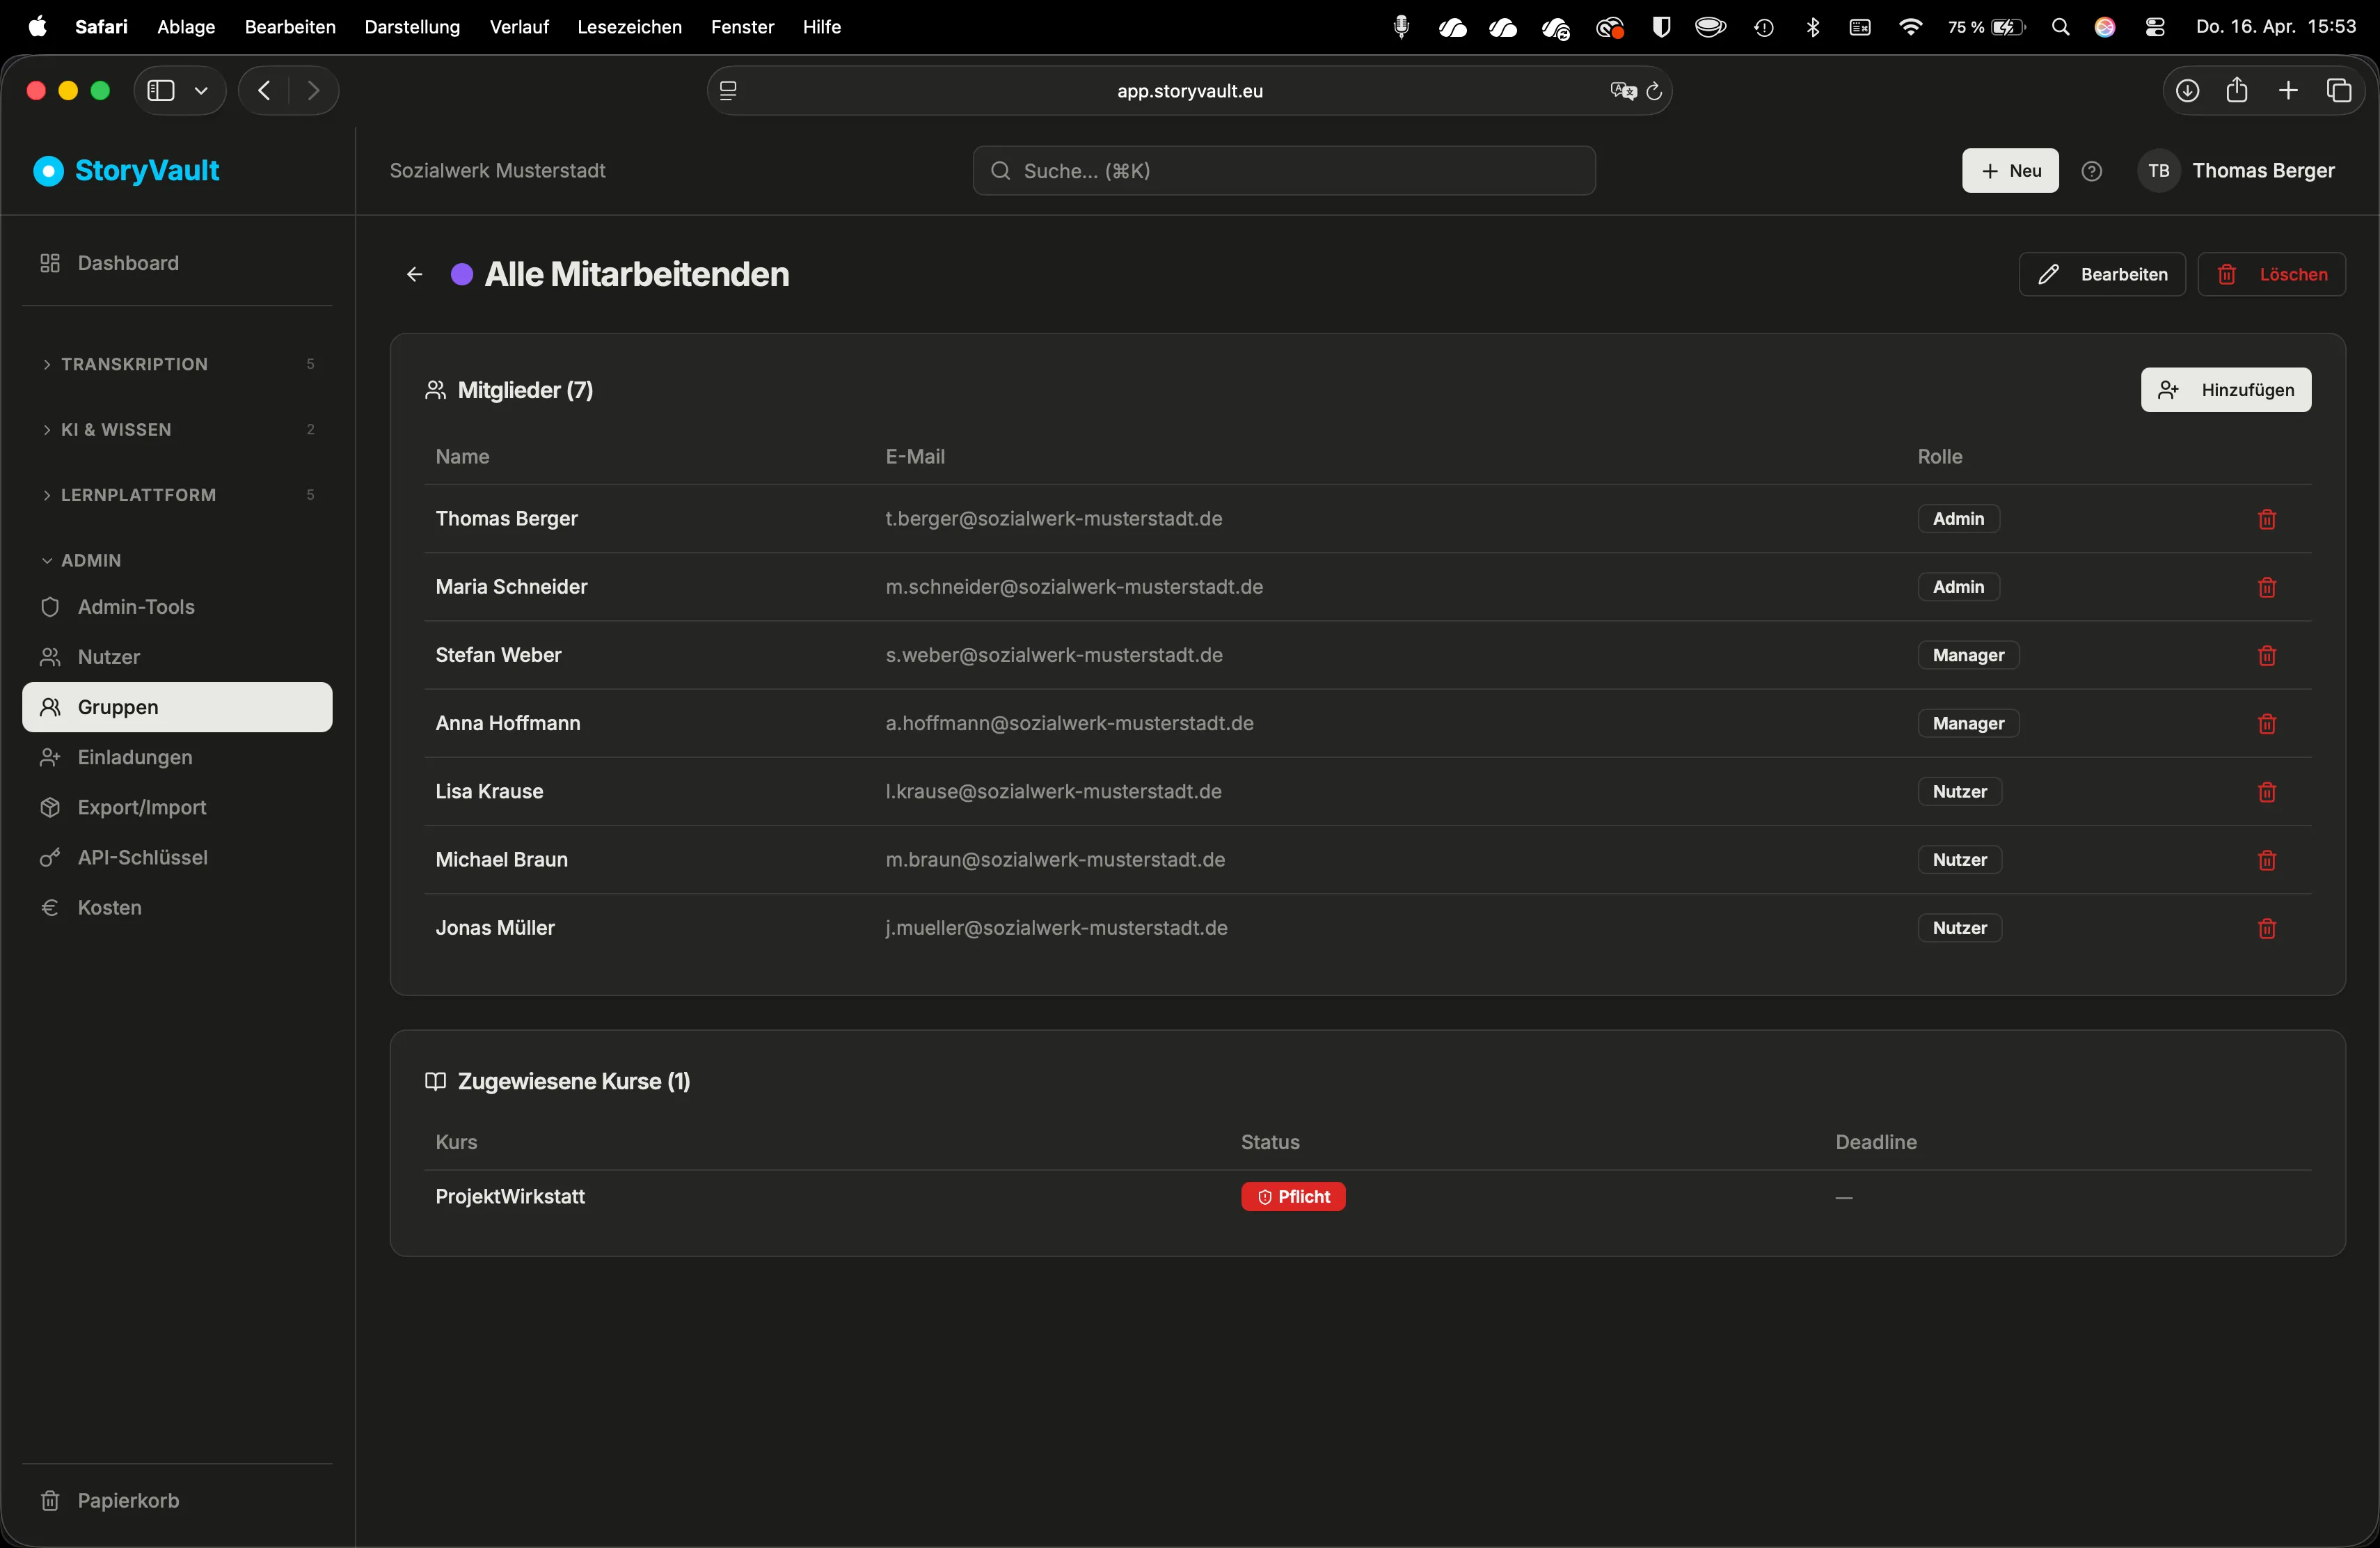
Select the users who should belong to this group. A person can belong to multiple groups.
-
Save
Managing Groups
Section titled “Managing Groups”- Add/remove members — Open the group and edit the member list
- Rename a group — Click on the group name
- Delete a group — Existing course assignments are retained for individual users
Groups and Mandatory Courses
Section titled “Groups and Mandatory Courses”The most important function of groups: you can assign a course as mandatory to a group. All members are automatically enrolled and receive a deadline. Learn more at Mandatory Courses.
Using groups for project access
Section titled “Using groups for project access”A group can be assigned to several projects. Open Projects → project → Share → Add and search under Groups using at least two characters of its name. An admin or manager with access to the project can select and add the group.
All group members gain access to the project and its sessions. This does not change their tenant roles. New group members inherit this access; removed members lose this access path. Direct grants, other groups, ownership or admin access can still apply.
When changing access: Removing a person from a group affects every project shared with that group. Removing the group from one project’s grants affects that project access, not membership of the group itself. First check which access should change.
Further Reading
Section titled “Further Reading”This page corresponds to the onboarding video “Module 7, Lesson 7.2 — Invitations and User Groups”.