Projects
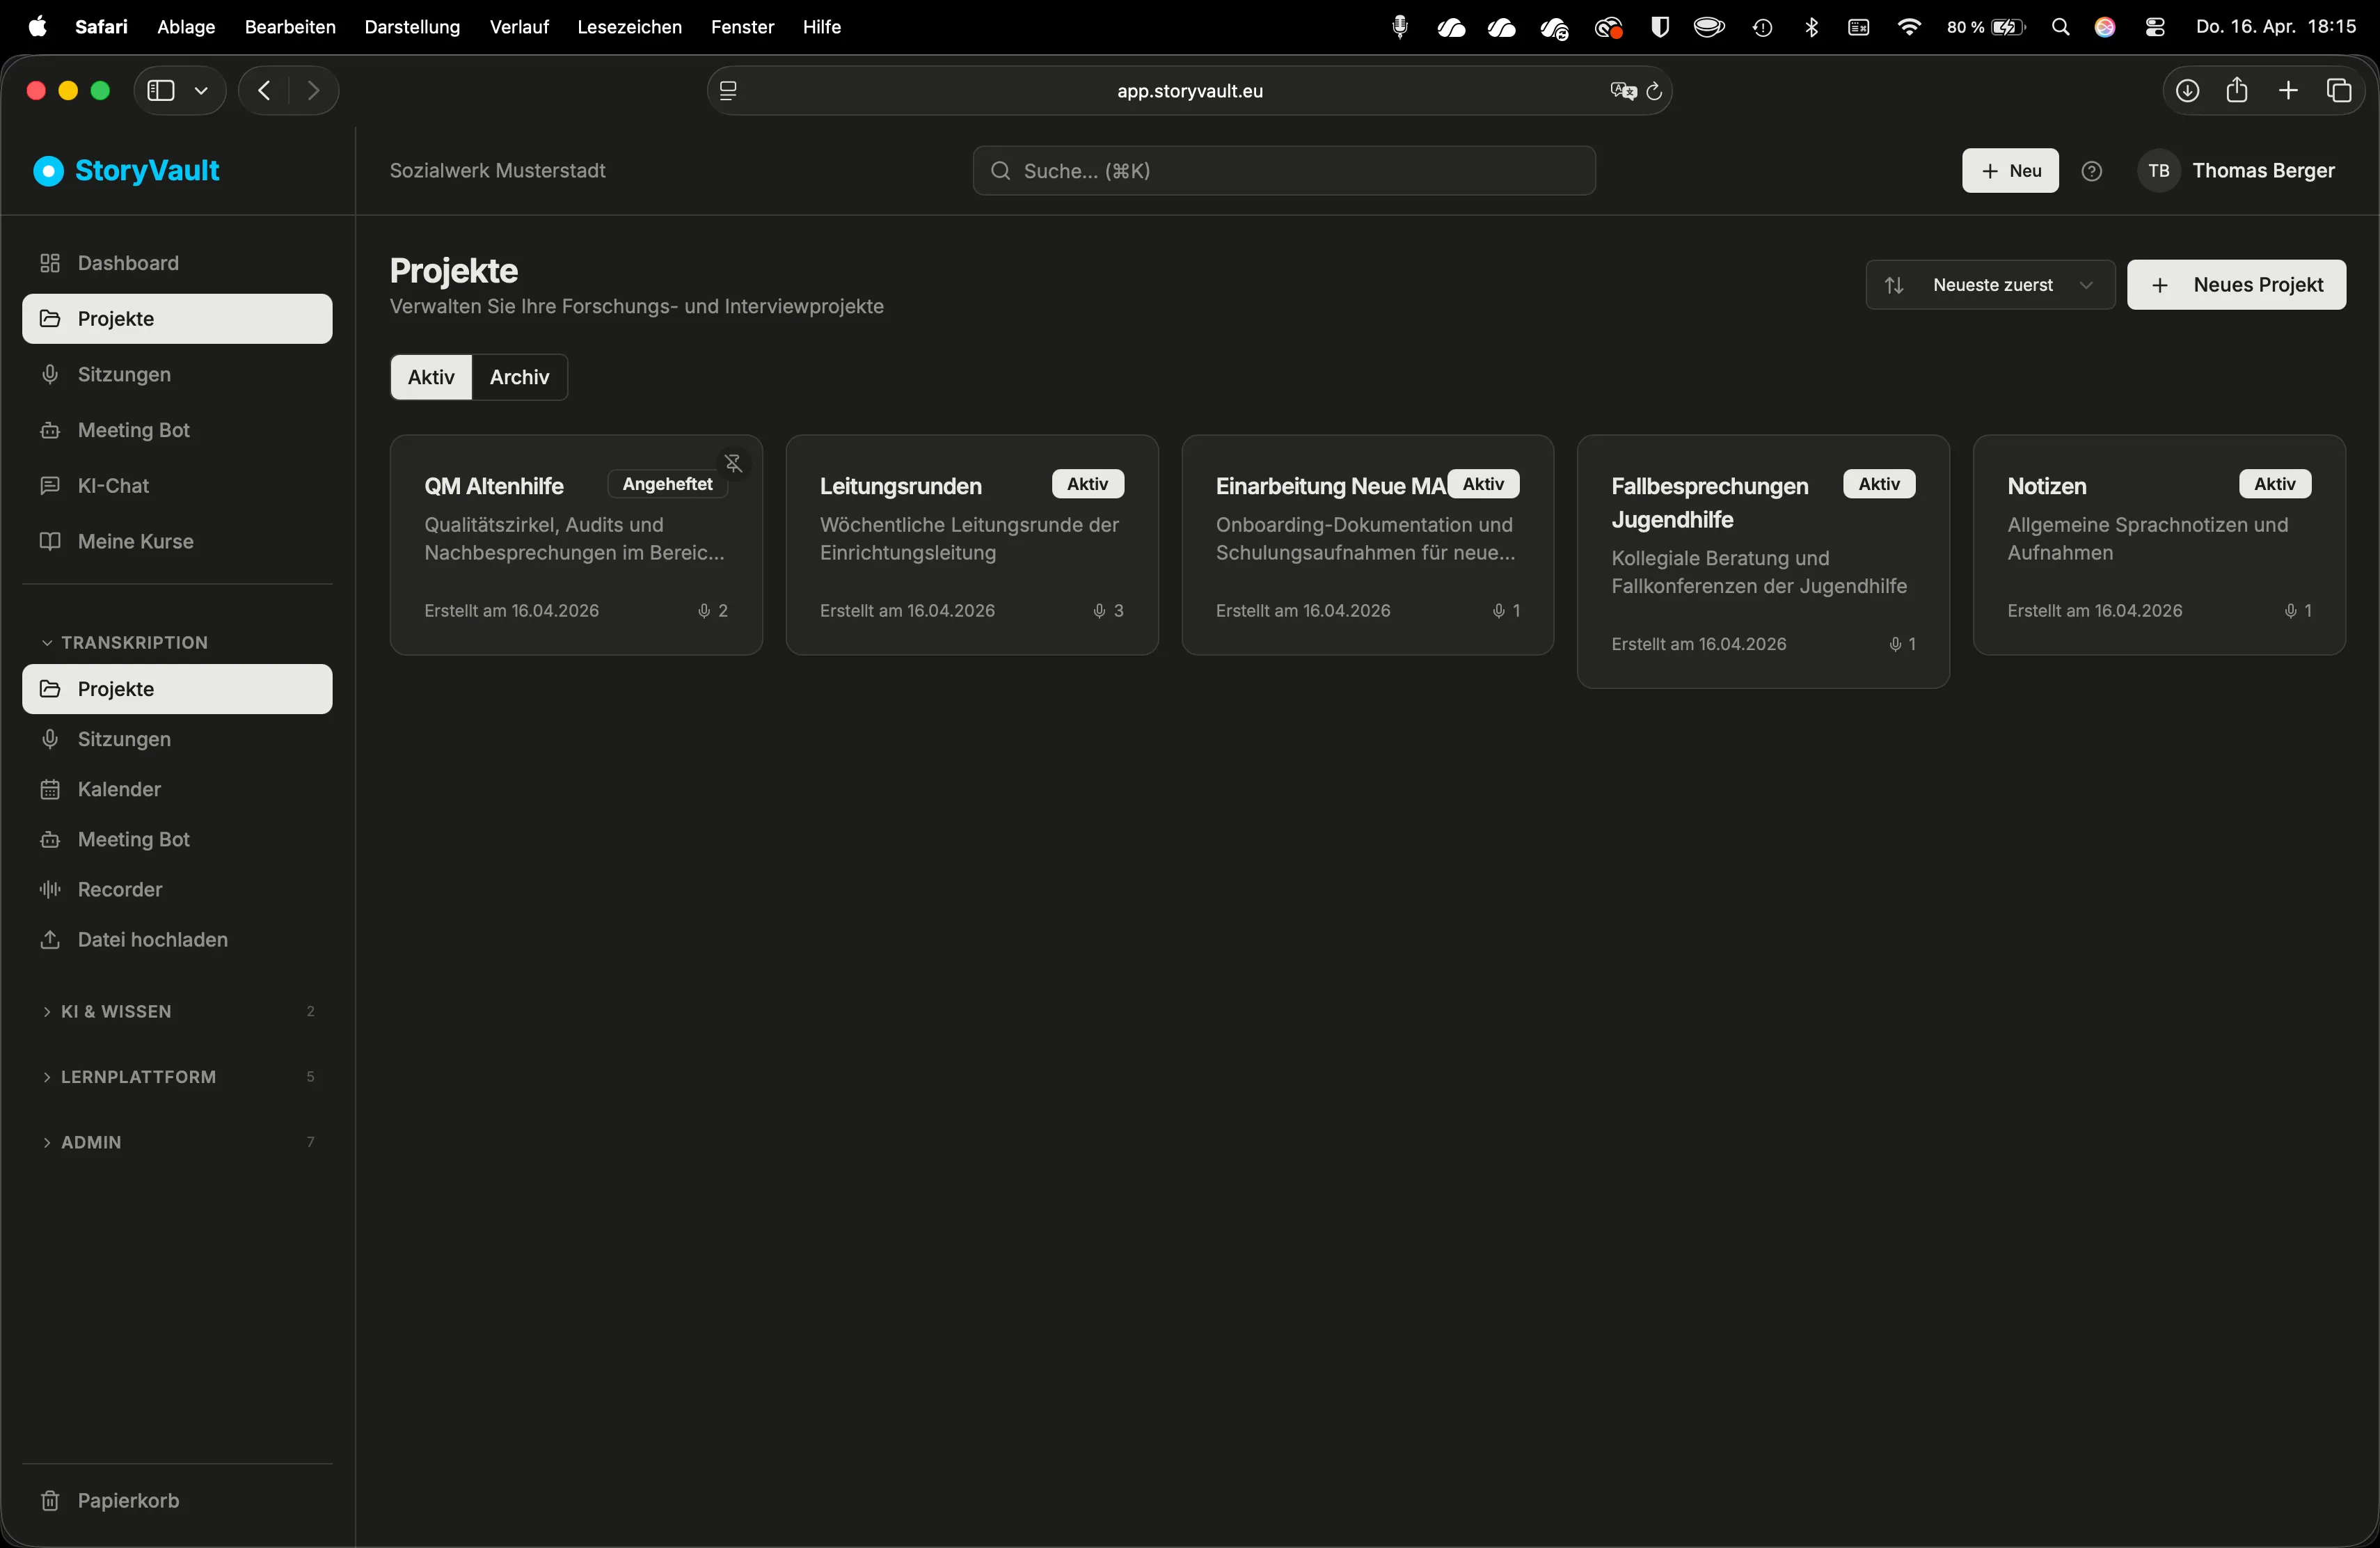
Projects are the organizing principle in StoryVault. Think of projects as thematic folders: a “Leadership Rounds” project collects all management meetings. A “QM Senior Care” project bundles quality circles and audits. An “Onboarding New Employees” project contains training recordings.
Every session belongs to exactly one project. This keeps you organized even as the number of recordings grows.
How It Works
Section titled “How It Works”-
Open the project list
Sidebar → Projects. You see all projects with name and session count. Use the dropdown on the right to sort by name, session count, or last updated.
-
Create a new project
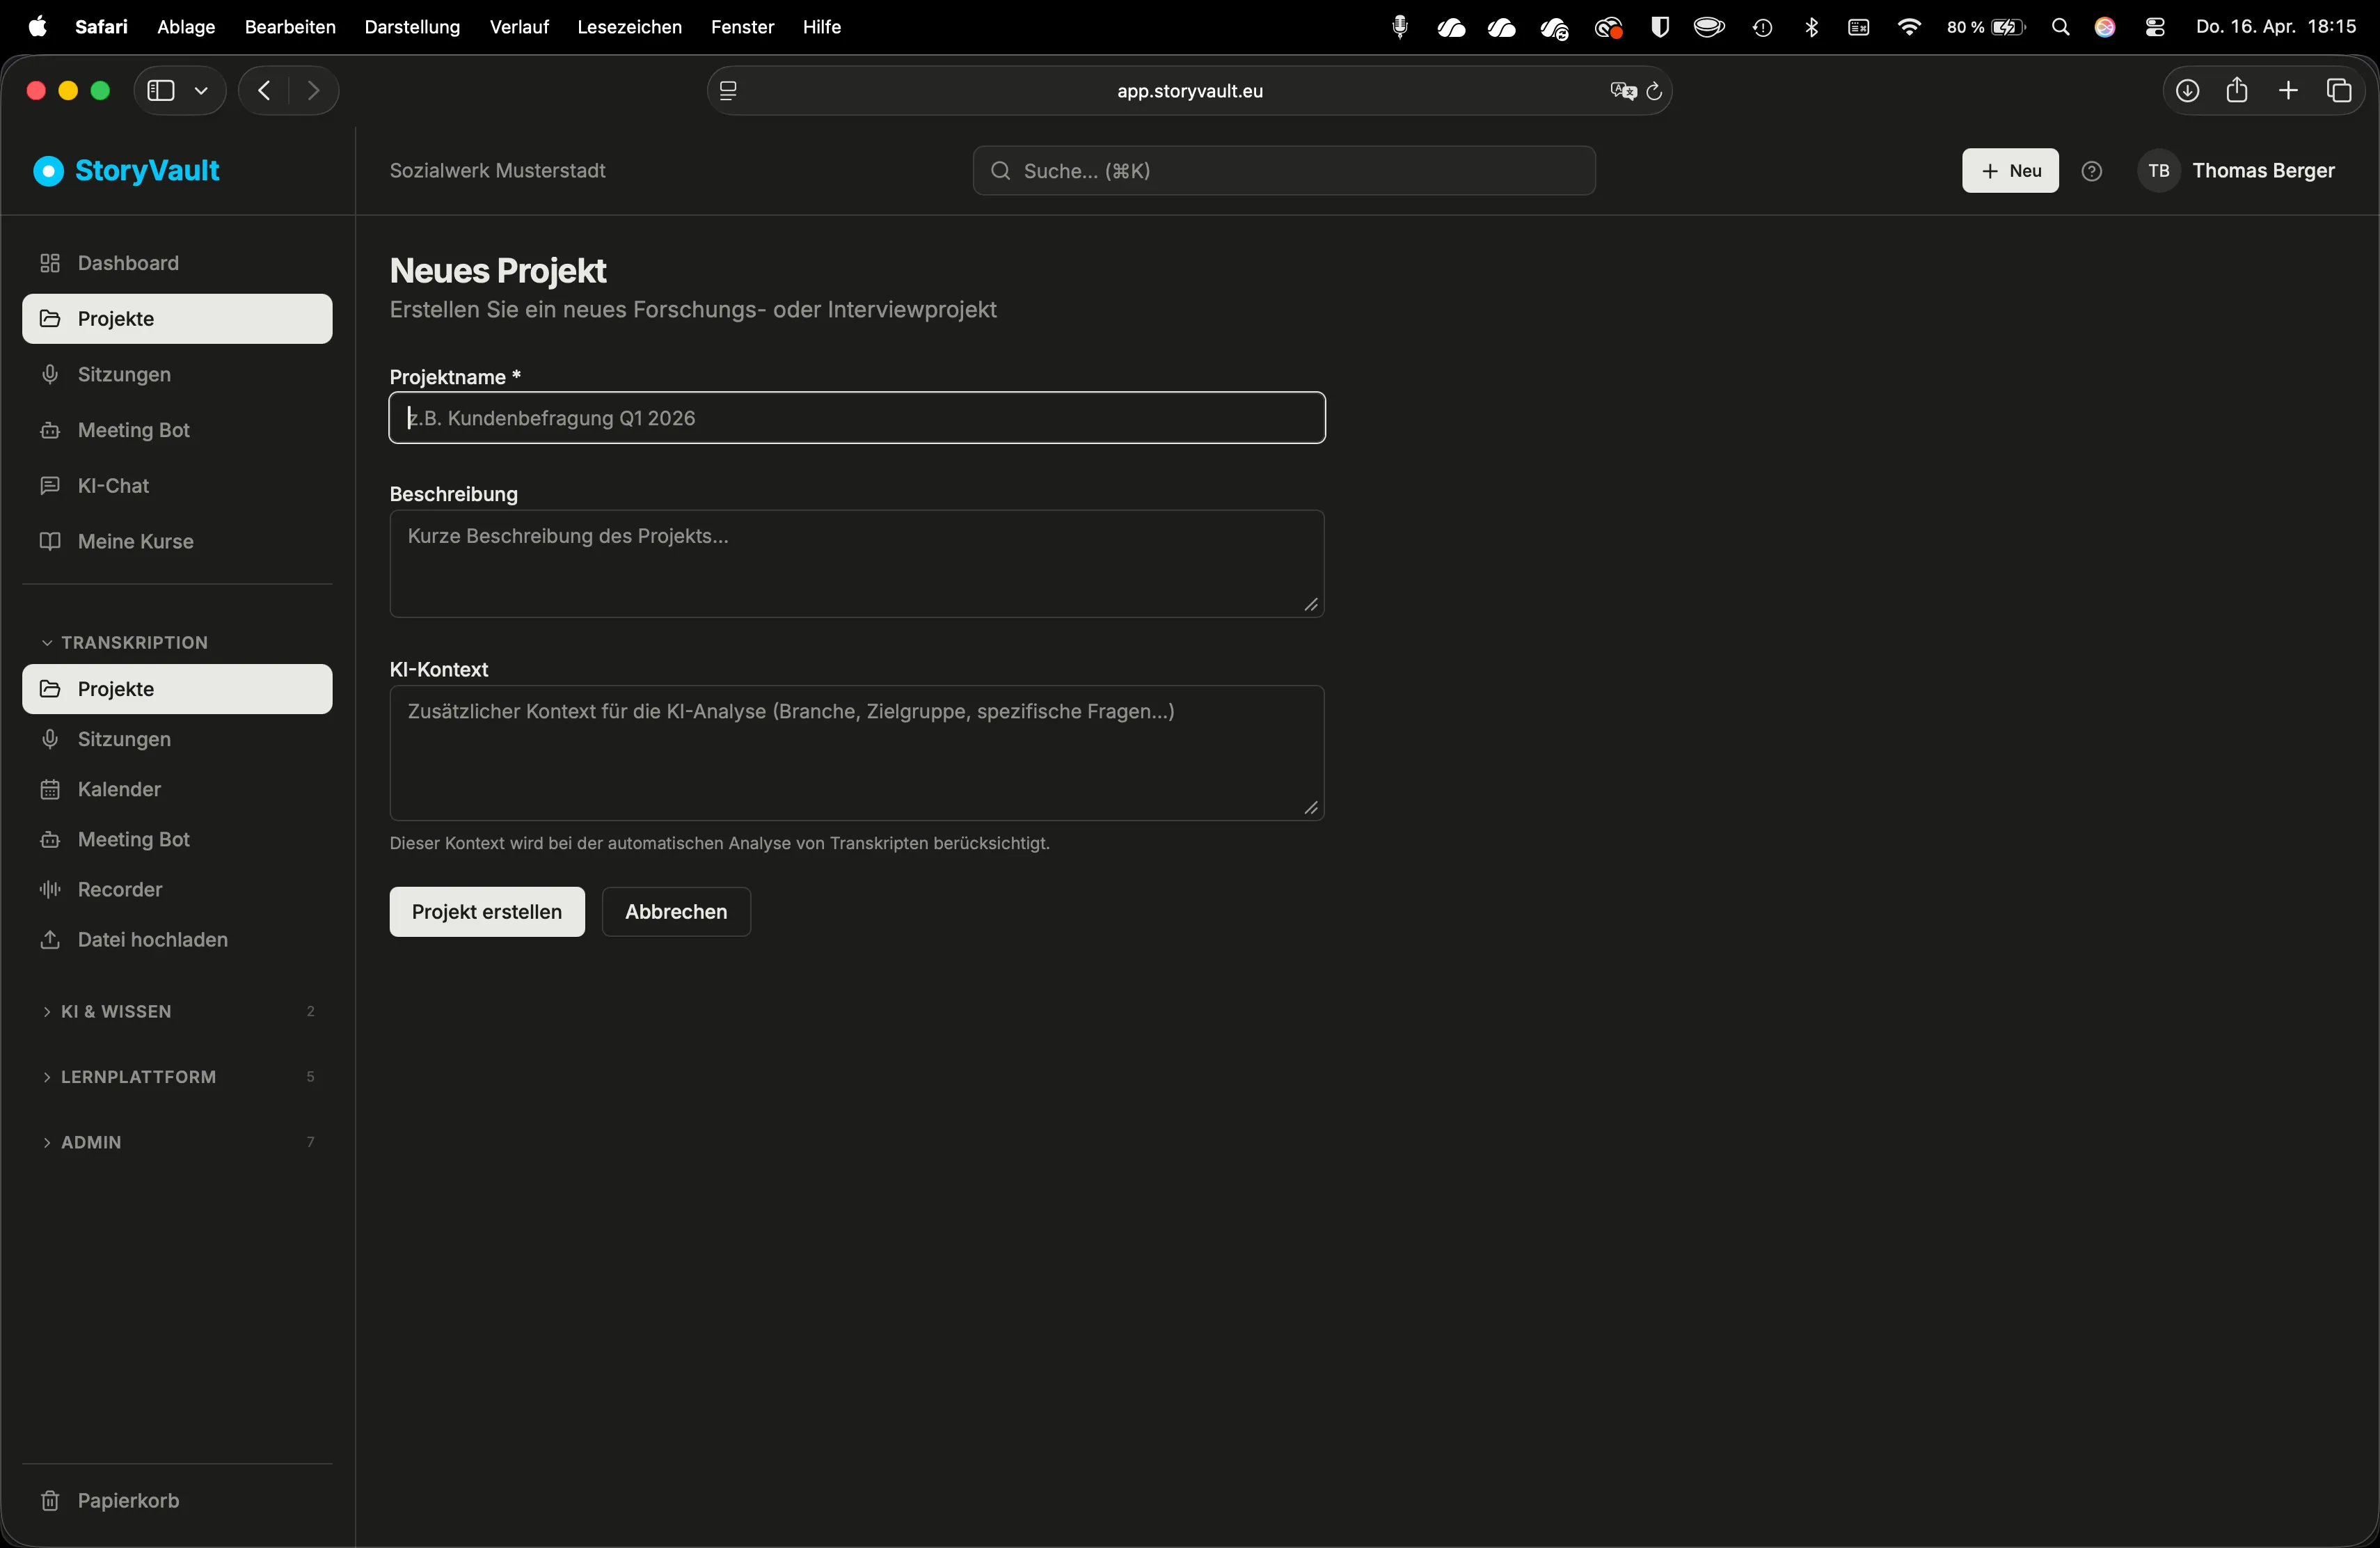
Click the plus button. Enter a meaningful name and optionally a description. Save — done.
-
Use the project detail page
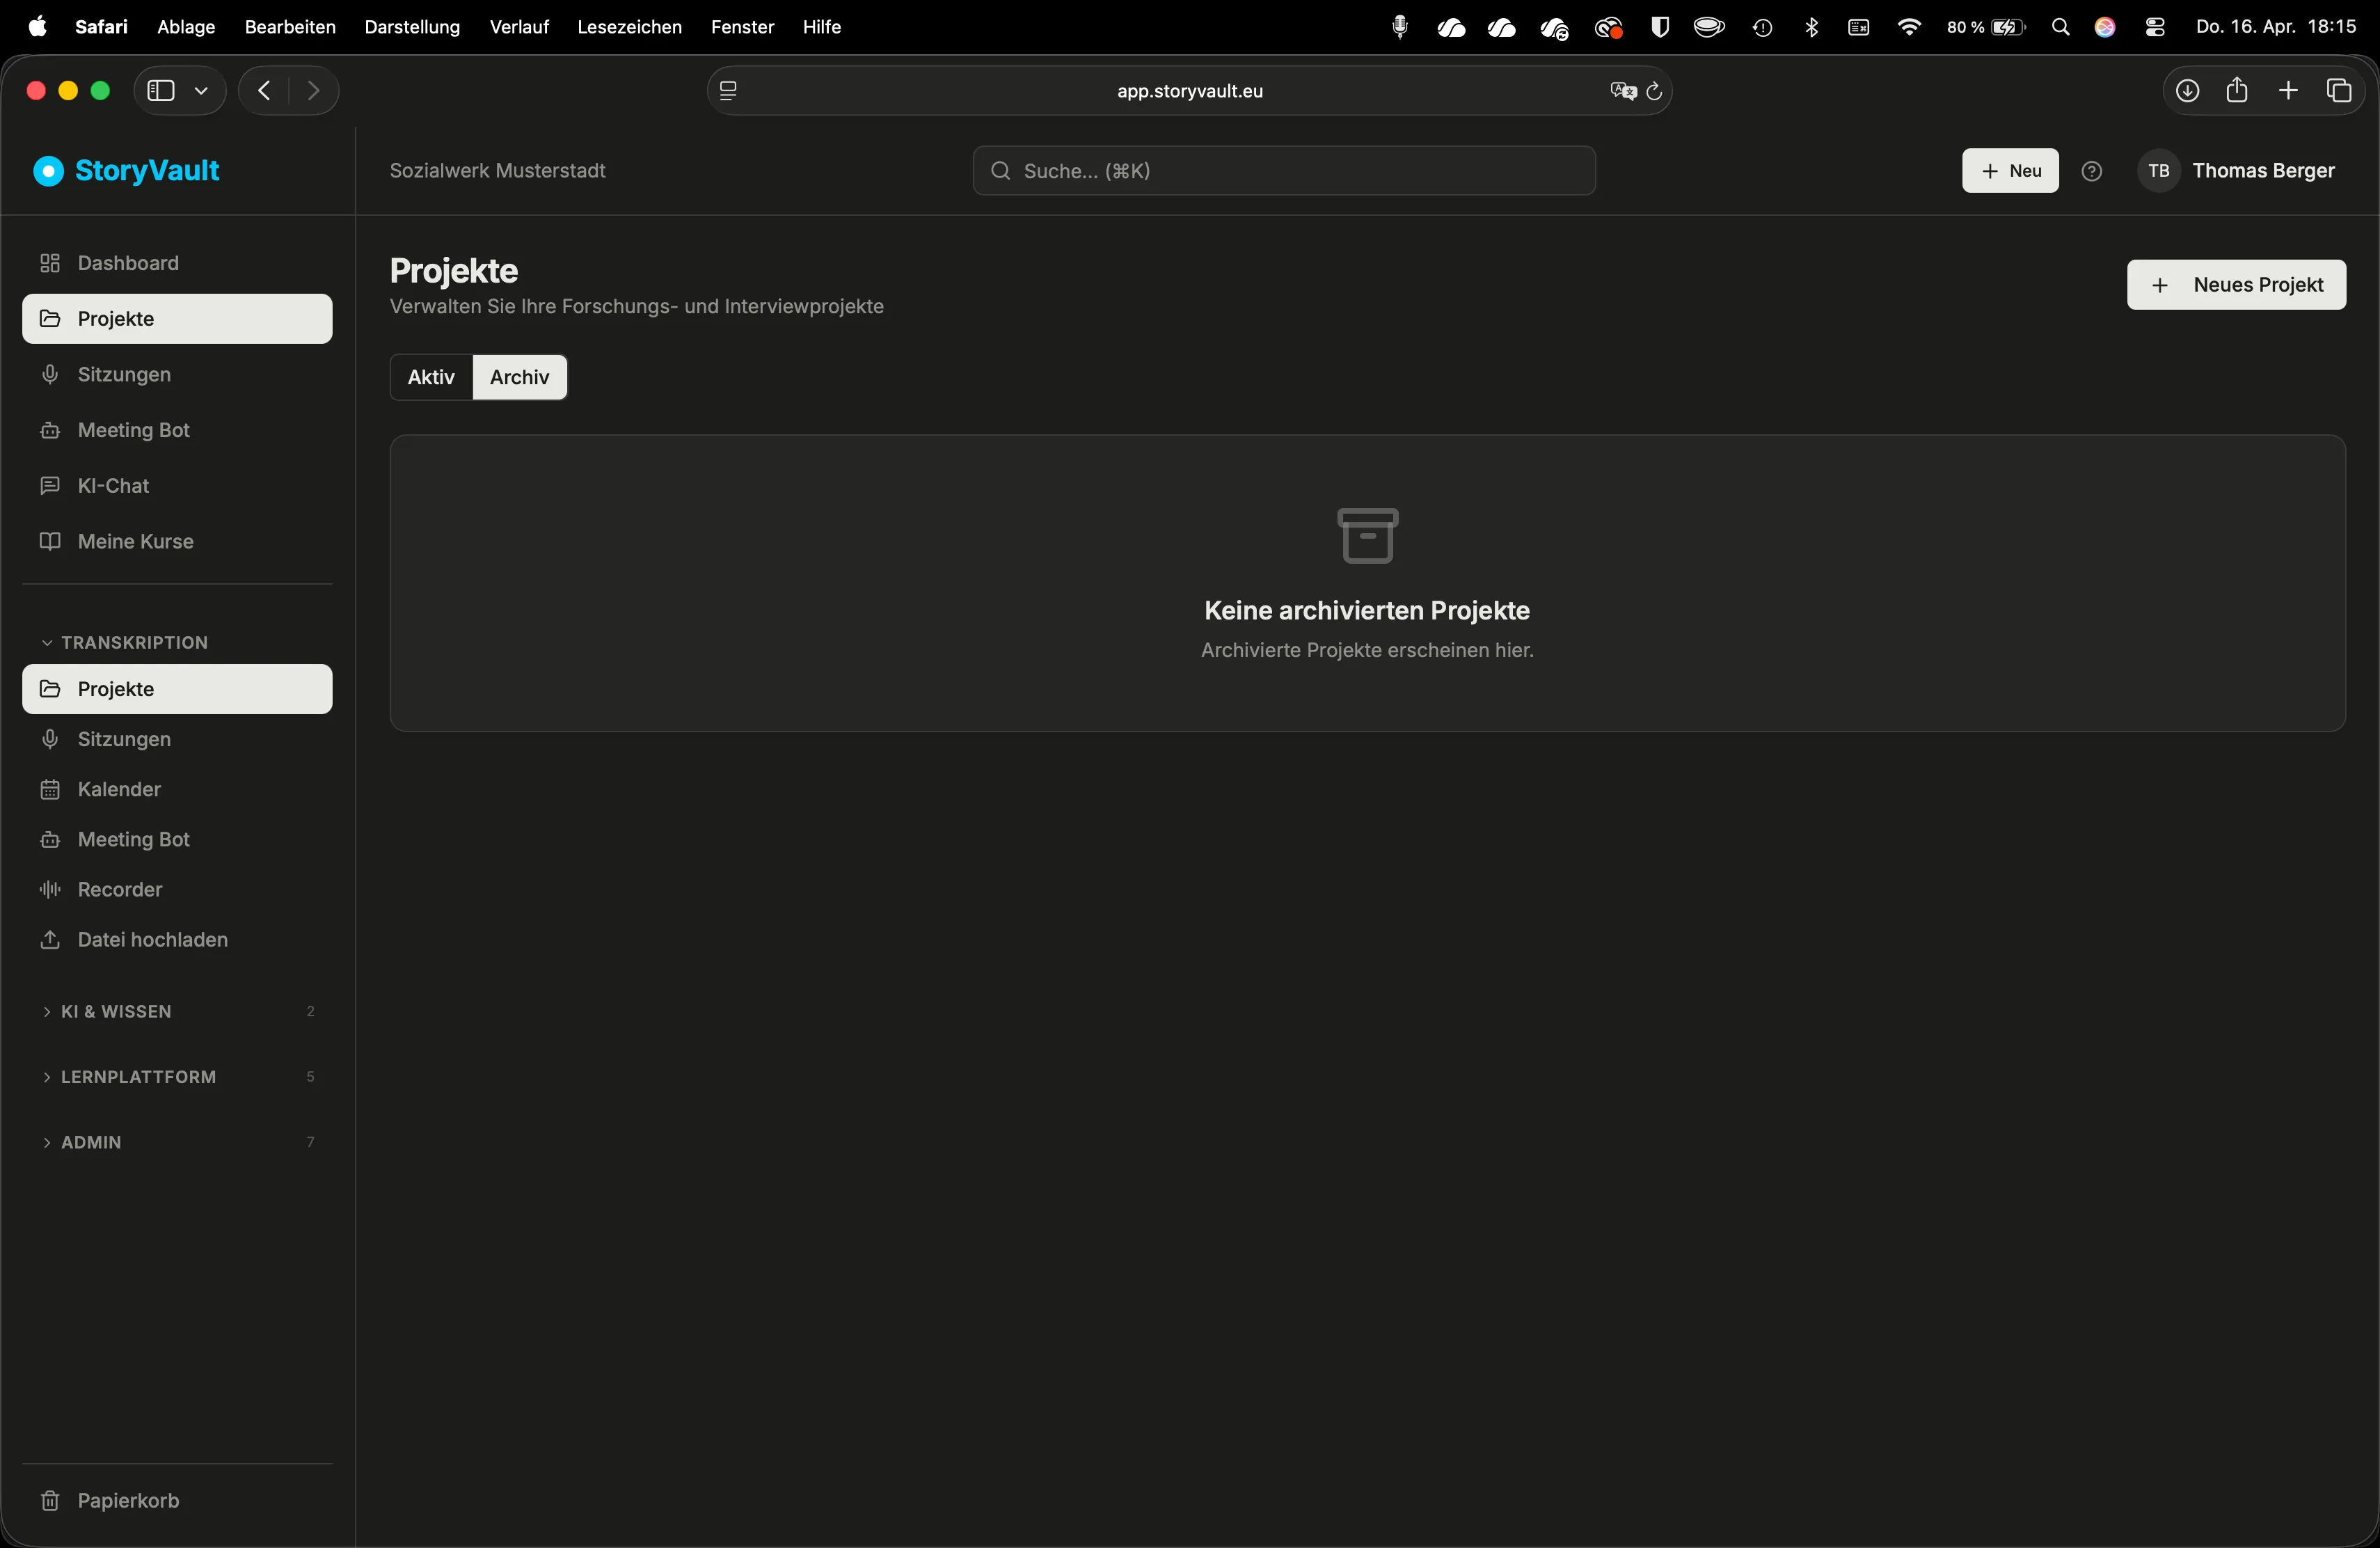
In a project, you see all associated sessions. From here you can directly upload files, start the recorder, or drag and drop a recording.
-
Edit a project
Use the pencil icon to edit the name, description, and AI context. The AI context is provided as background information during project-level chats — this leads to more relevant AI responses.
Different fields when creating or editing a project
Section titled “Different fields when creating or editing a project”The full New project form contains name, description, AI context and color. These fields are not shown differently by role or module in that form. First compare the entry point and whether both people are creating or editing a project.
When editing an existing project, admins additionally see AI settings → Automatic summary. Enabling it requests a summary after transcription; it is disabled by default. This setting is not shown during initial creation or to ordinary users or managers.
If Klaus sees more fields than Julia, ask for their exact names. “Automatic summary” is explained by the editing view and admin role. This does not explain every other difference: compare tenant, page and exact field label. AI context provides background for project AI, not permission or access grants.
Project AI Chat
Section titled “Project AI Chat”Every project has its own AI chat. Use it to ask questions across all sessions in a project — for example: “What topics were discussed in the last three QM sessions?” or “Which open issues keep coming up?”
The project chat uses the summaries of all sessions as context. For detailed analysis of a single meeting, use the session chat.
Project Access and Roles
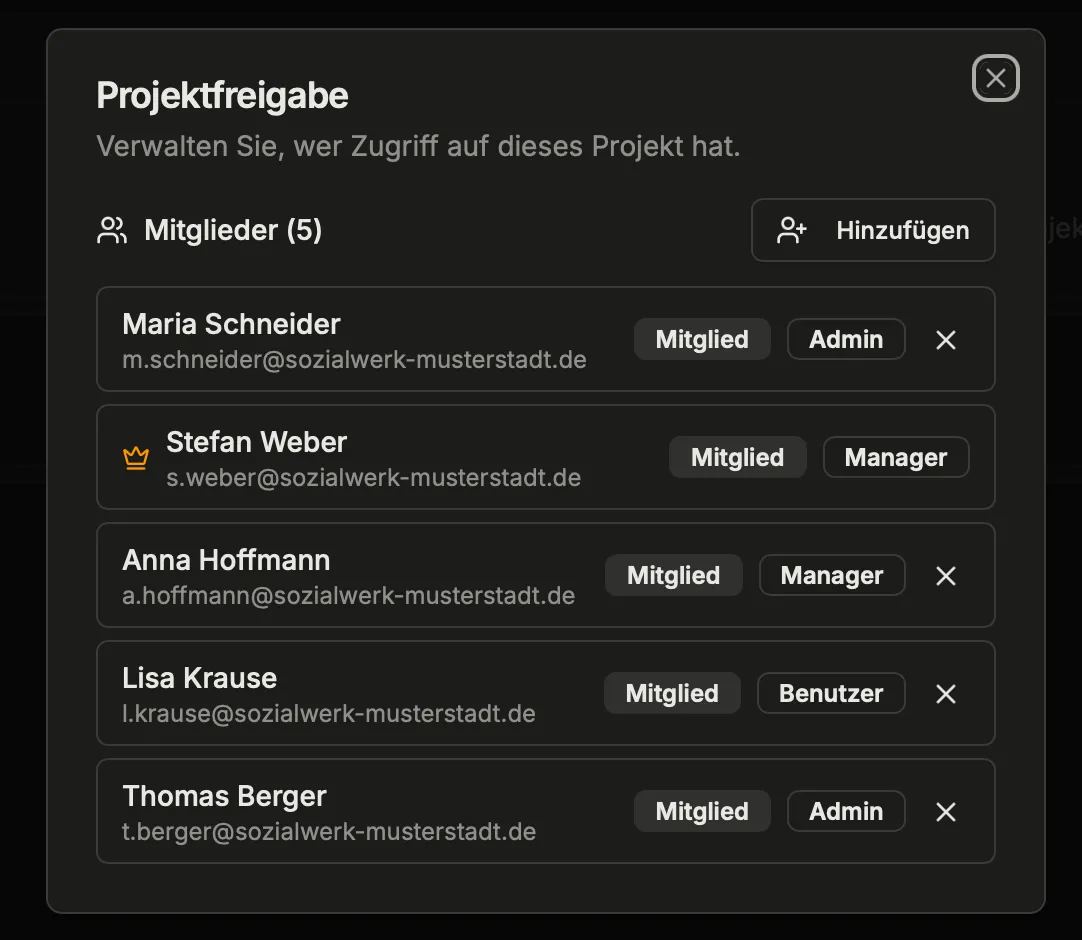
Section titled “Project Access and Roles”A project folder has an access list of individual members and shared groups. A role alone therefore does not explain who can see project X.
| Access path | Meaning |
|---|---|
| Owner | The person recorded as the project’s owner has access. |
| Direct membership | A person has been explicitly added to the project. |
| Group | A group has been added to the project; its members inherit access. |
| Admin | Tenant admins generally have access to ordinary projects in their tenant without individual grants. Projects created by global super admins are protected separately and require explicit sharing for other people. |
Managers, users and participants gain access through ownership, direct membership or groups. Sessions in an accessible project are visible to its members, including sessions created by someone else. Data protection restrictions and deleted content can further limit access.
Access and permitted actions are separate: your role in the current tenant determines whether you may view, create recordings or manage sessions. The sharing dialog selects people and groups; it does not offer a “Viewer / Editor / Manager” selector to change their tenant roles.
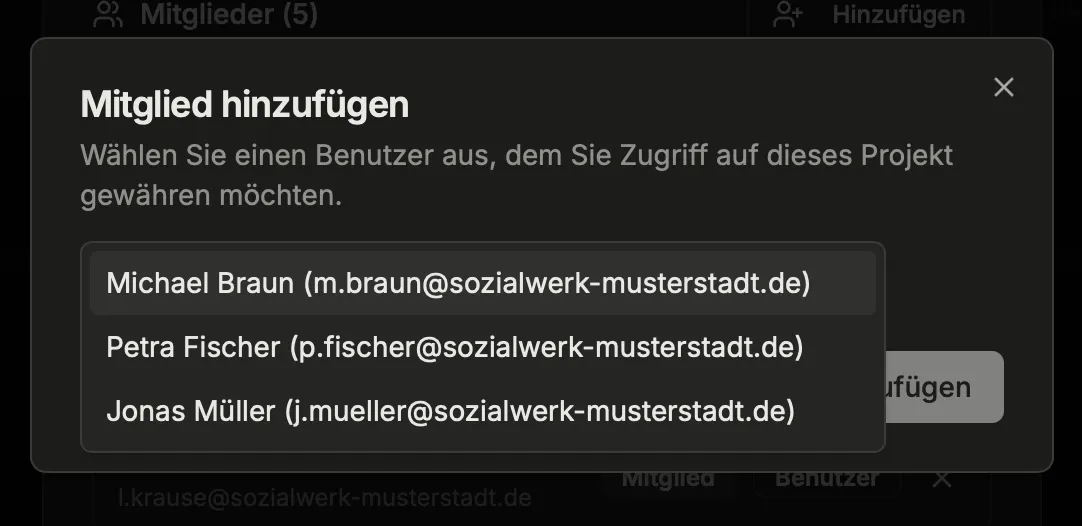
Who is a member of project X? Review and change access
Section titled “Who is a member of project X? Review and change access”- Open Projects in the left sidebar and select the project.
- Click Share (people icon) in the action area beside the project title. The Project sharing dialog lists people, the owner, admin access and shared groups.
- Admins and managers with access to this project can select people or groups using Add. Enter at least two characters of a name or email address, select results and confirm.
- Use the X beside a direct membership or group to remove that grant. The owner and people with automatic admin access cannot be removed here.
Users and participants with project access can view grants but cannot add or remove them. If Add is unavailable, ask a responsible manager or admin. Creating a project as a user does not give you the manager role.
Admins also manage roles and direct project assignments under Admin → Users. Group membership is managed under Admin → Groups. Changes apply to the current tenant.
Why can Julia and Klaus see each other’s recordings?
Section titled “Why can Julia and Klaus see each other’s recordings?”First compare their active tenants. Then open Share in the affected project: are both directly assigned, members of a shared group, the owner or admins? Each is a possible access path. A shared project is not a private folder per person; its sessions are visible to people with project access.
Use separate projects with appropriate people and group grants for separate work areas. Admin access generally remains even without an individual grant. Product help explains these rules but does not read your project’s actual membership list.
A member was removed but can still see the project
Section titled “A member was removed but can still see the project”Removing a direct grant removes only that access path. Also check shared groups and their members, the person’s role and project ownership. Several access paths can apply at once. Remove a group grant only if the whole group should lose access; otherwise ask your administrator to review the person’s group membership.
A share link for an individual session is another independent access path. Manage and revoke such links via Share in the session, separately from project sharing. See Sharing.
Project Color
Section titled “Project Color”Each project can be assigned a color. The color appears as a subtle accent in the project list, on the detail page, and in list views — useful for visually grouping related projects.
- Open the project → Edit (pencil icon).
- In the Color section pick one of the eight presets or keep No color.
- Save.
The eight presets are tuned to work together and cover typical project phases (from “Trigger” to “Communication & Report”). Custom hex values are intentionally not supported — this keeps the UI calm and consistent.
Default Project “Notes”
Section titled “Default Project “Notes””The “Notes” project exists automatically. If you don’t select another project in the recorder or upload, recordings end up there. Handy for quick voice notes that you’ll sort later.
Further Reading
Section titled “Further Reading”This page corresponds to the onboarding video “Module 3, Lesson 3.1 — Projects”.