Settings
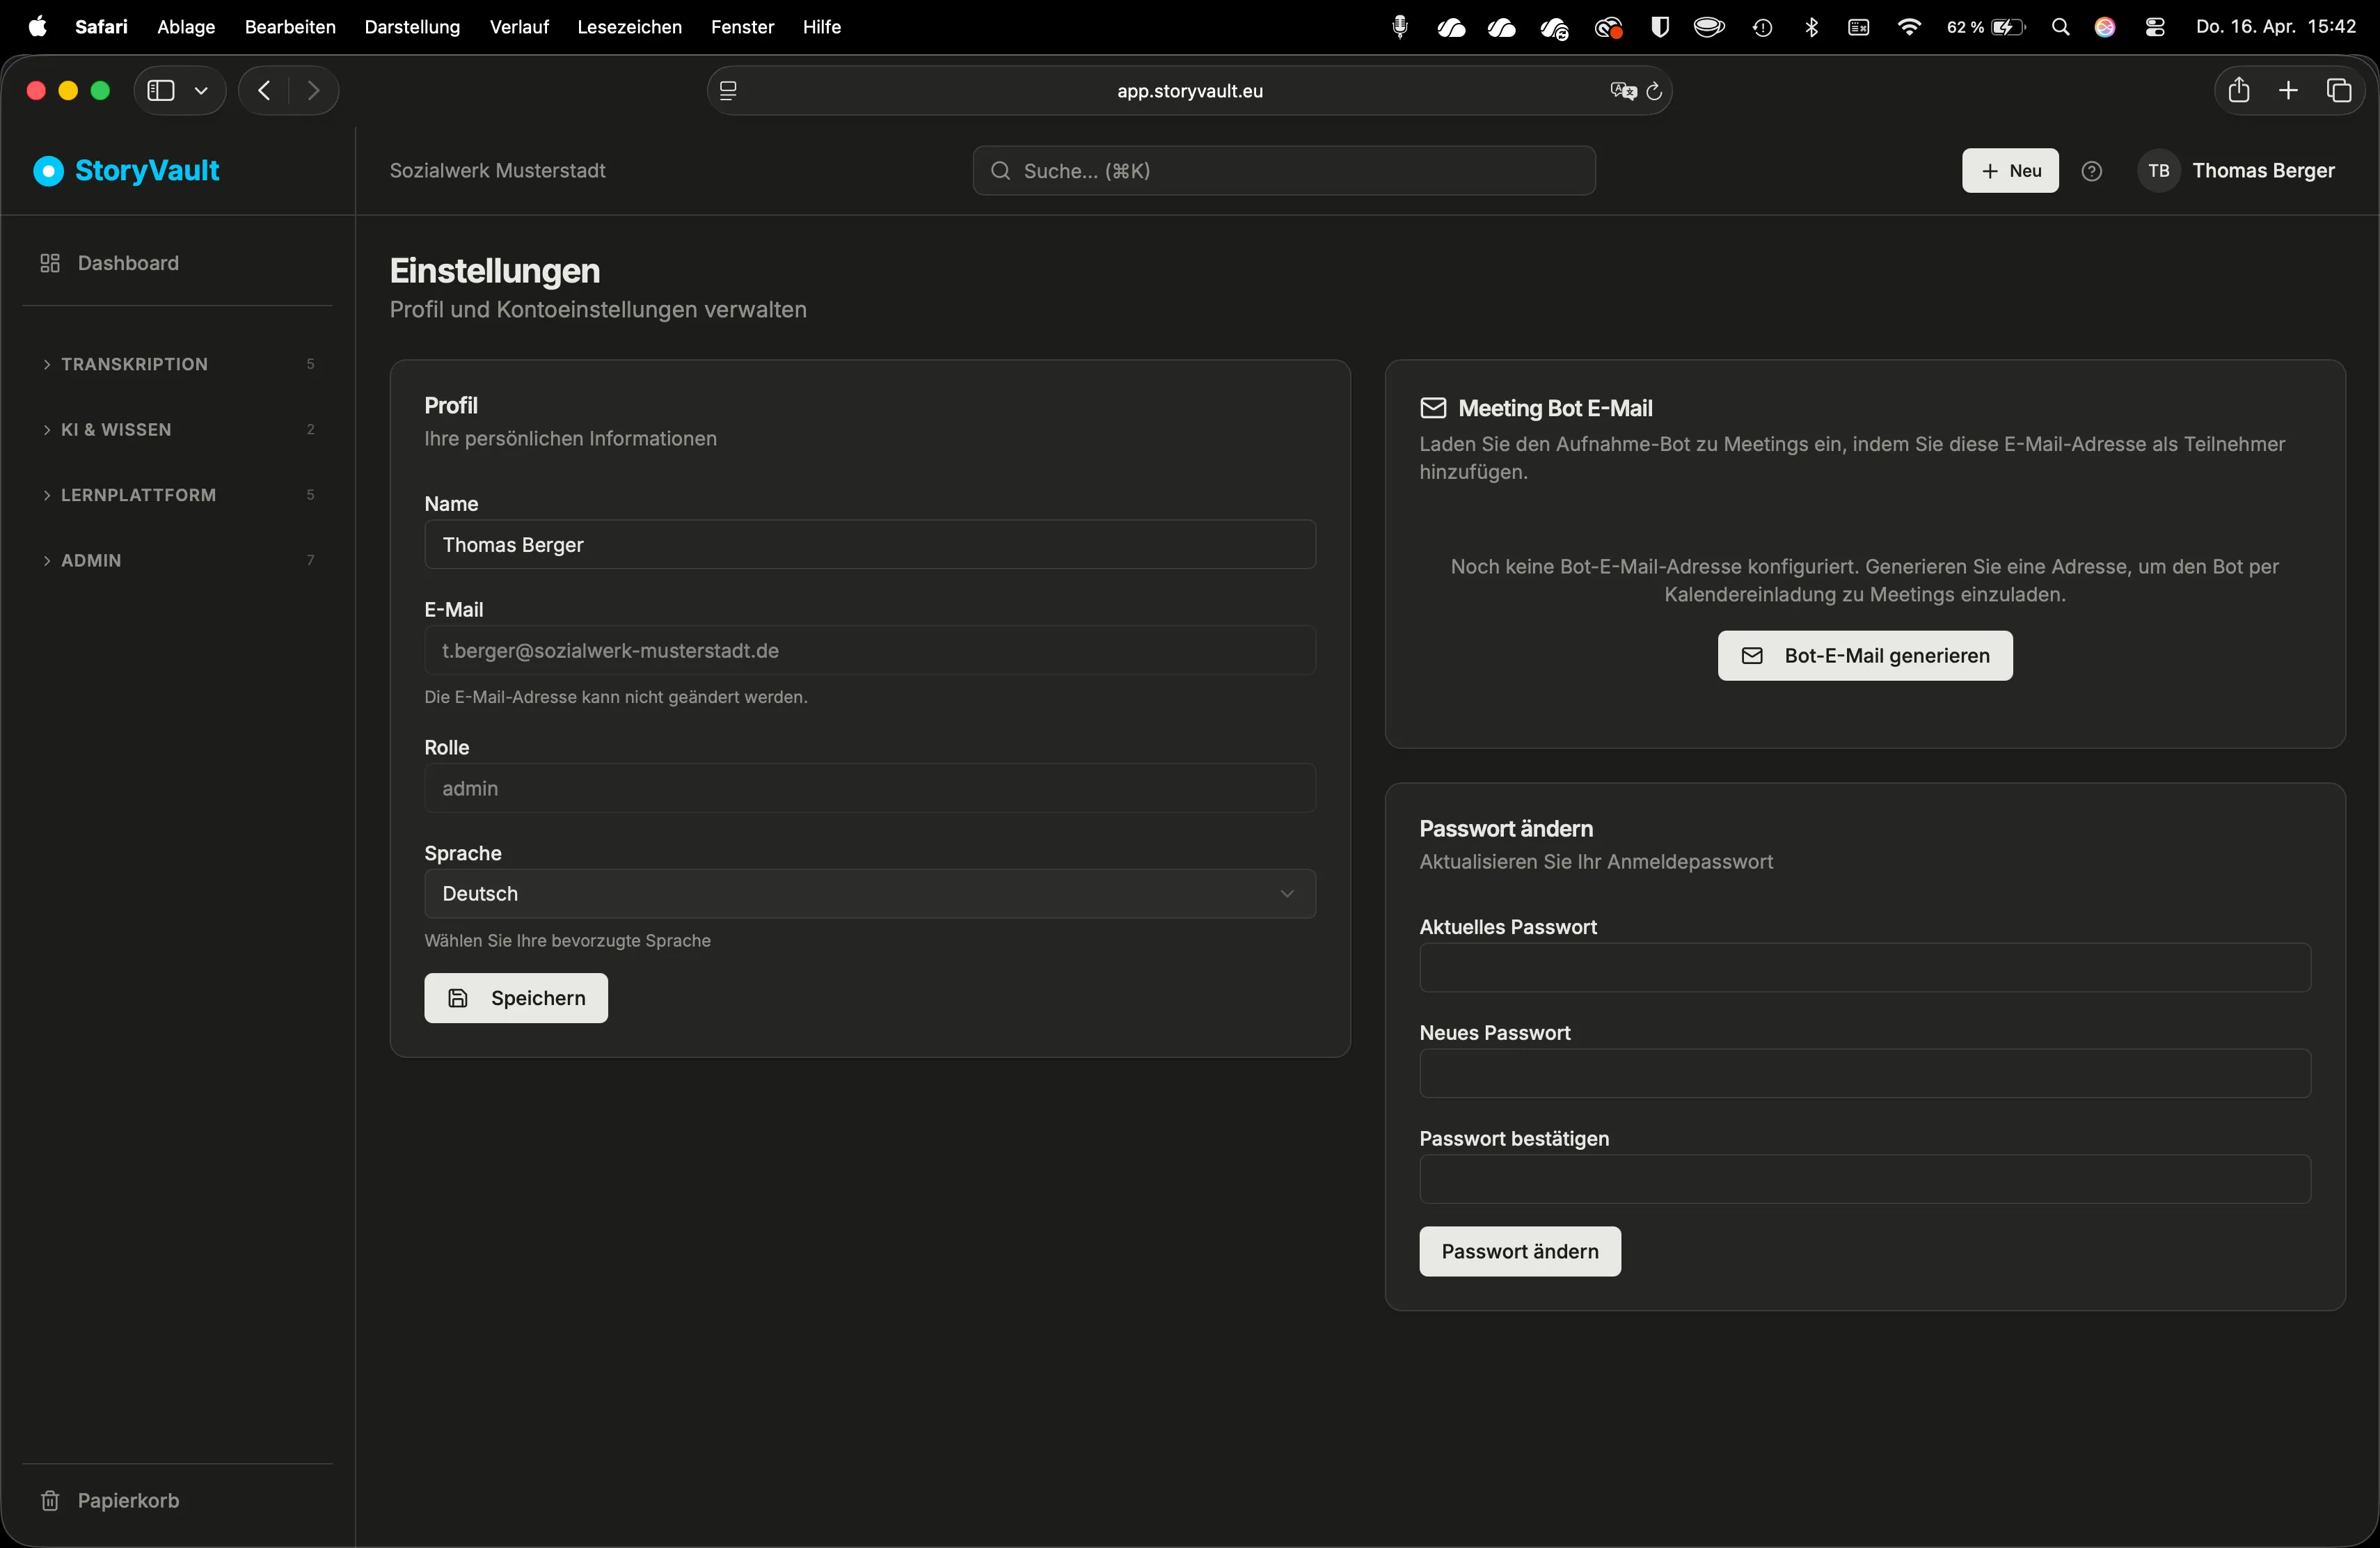
Under Settings, you configure your personal profile, security options, and organization-wide settings. Some areas are available to all users, others to administrators only.
Personal Settings
Section titled “Personal Settings”These settings apply to your own account. Open them via the user menu (top right) → Settings.
Profile
Section titled “Profile”- Name — Your display name in StoryVault
- Language — German or English. The entire interface switches language.
Change Password
Section titled “Change Password”-
Open the Security tab
Settings → Security.
-
Enter current password
-
Choose a new password
At least 8 characters. Use a combination of letters, numbers, and special characters.
-
Confirm and save new password
Appearance
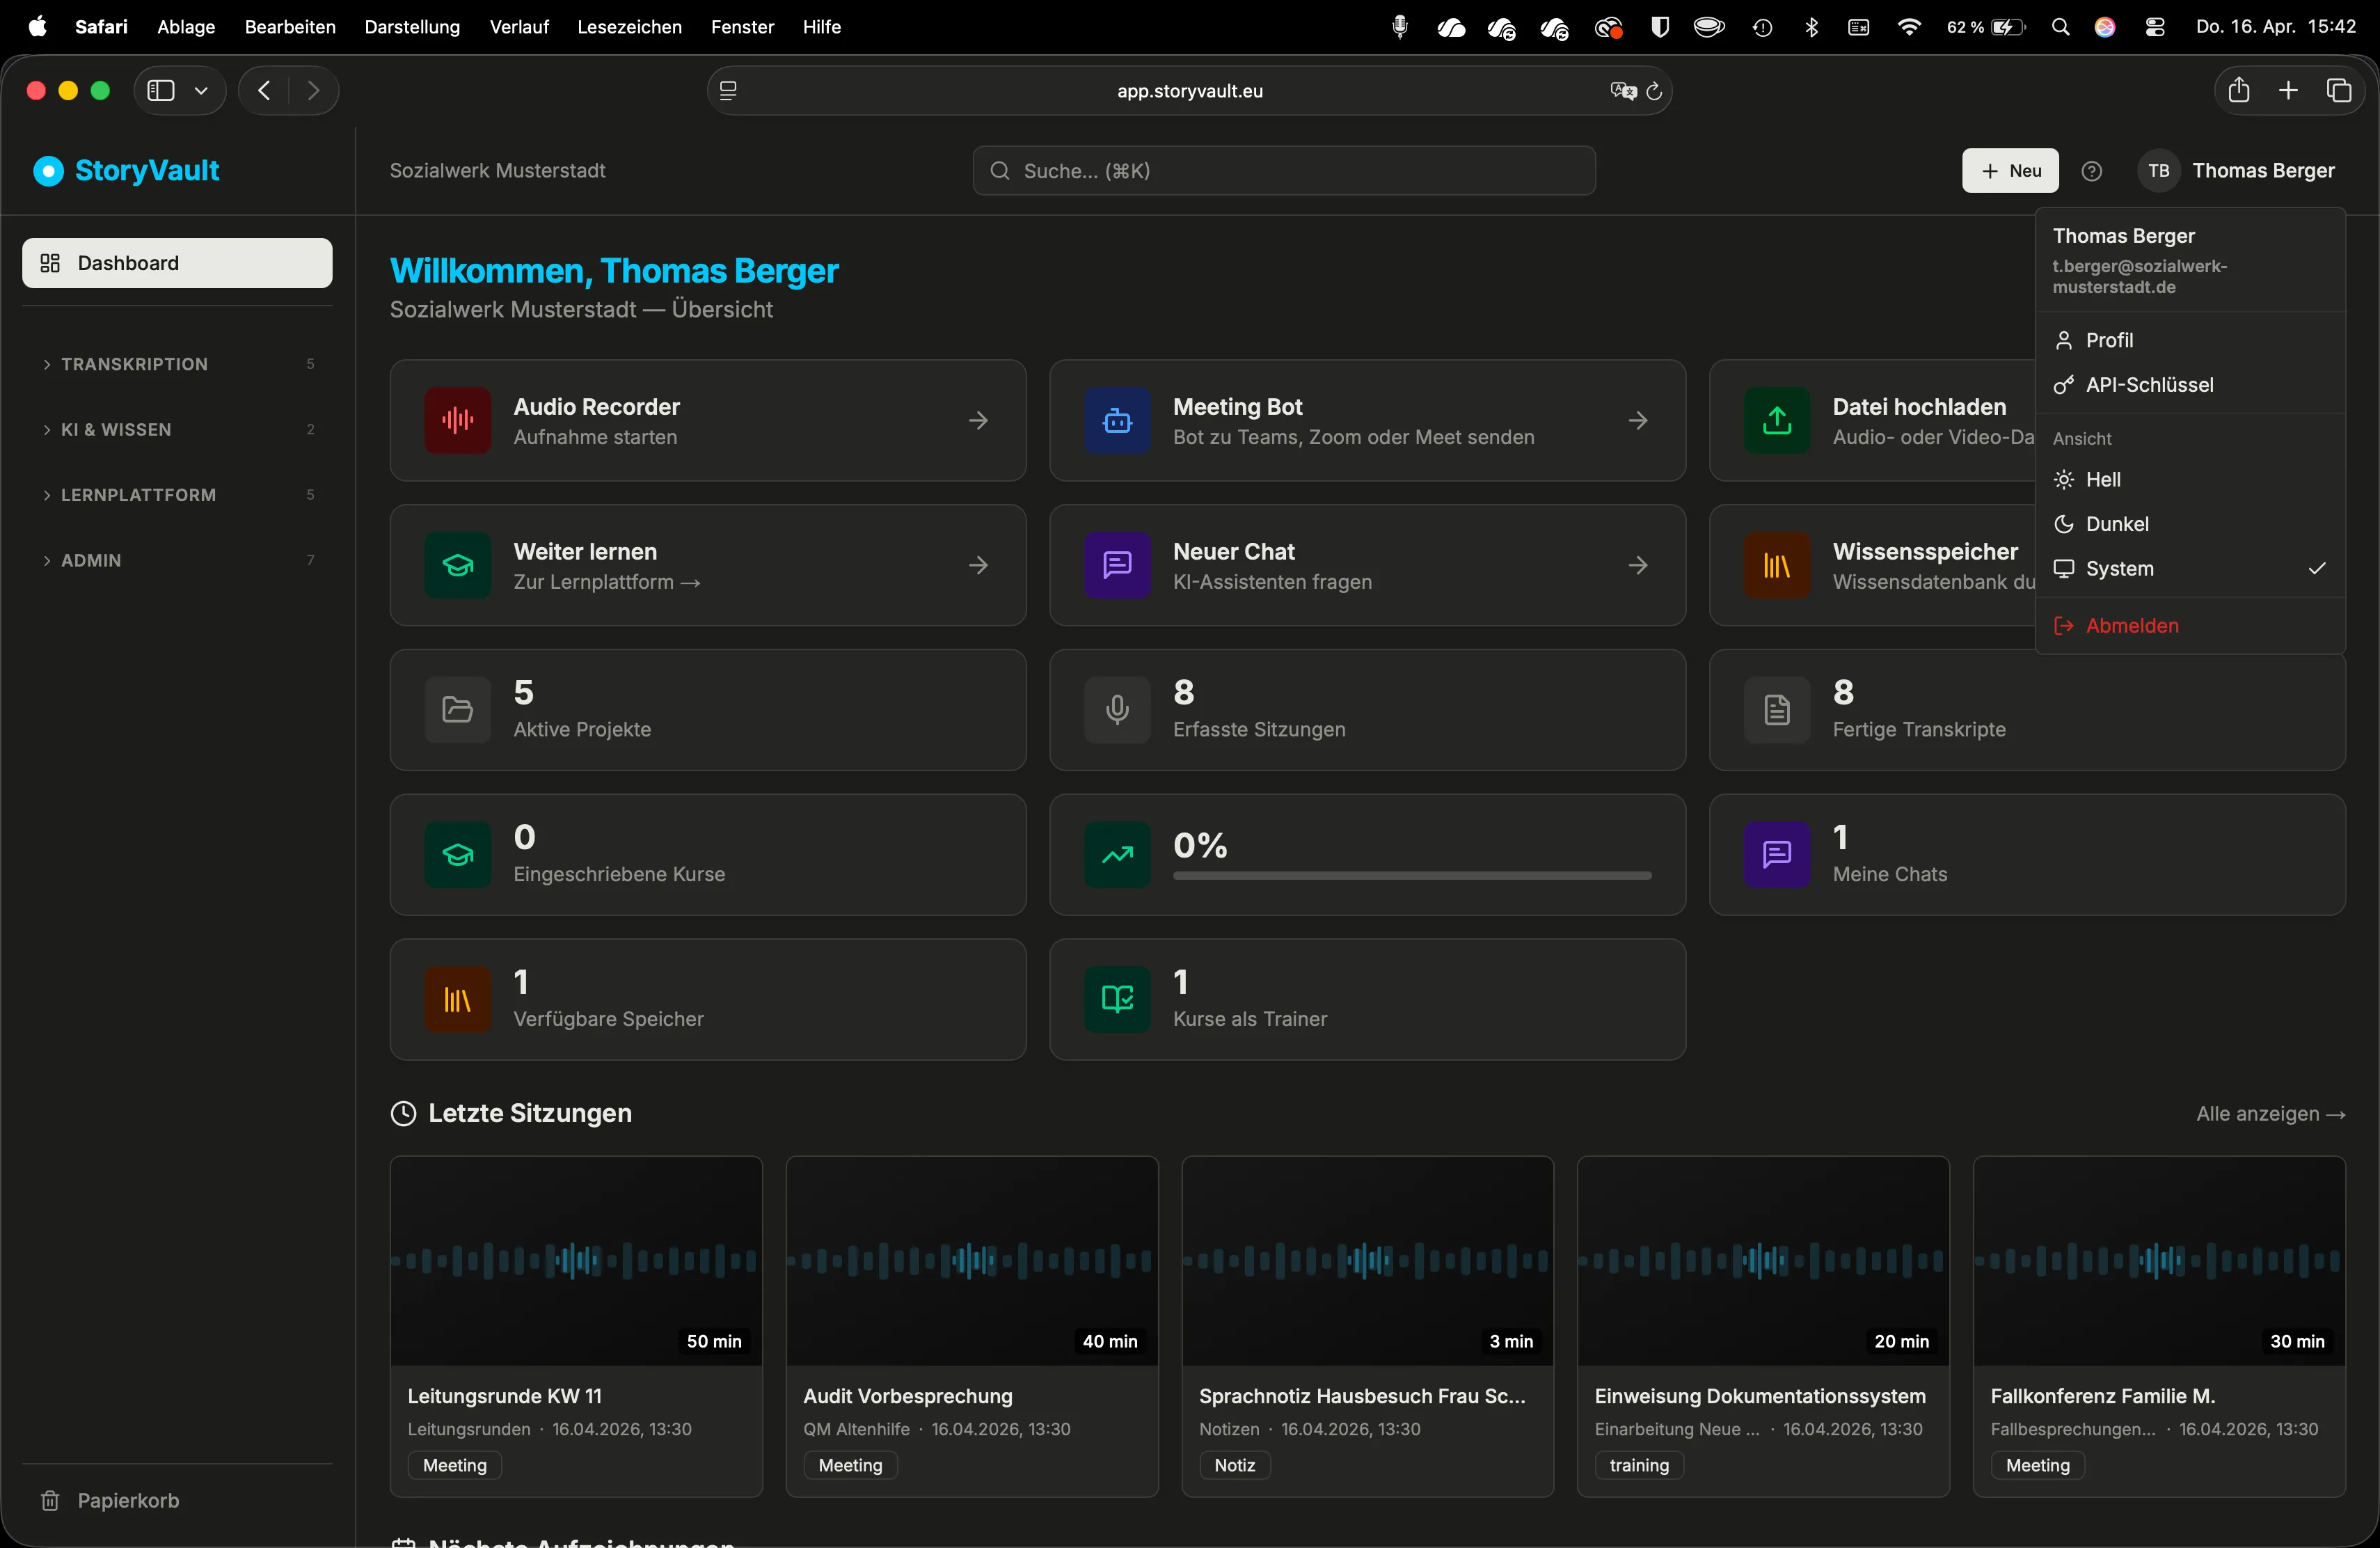
Section titled “Appearance”- Color mode — Light, Dark, or System (follows your operating system setting)
- Sidebar favorites — When you hover over a menu item in the sidebar, a bookmark icon appears. Click it to pin the item at the top as a favorite. This lets you customize the navigation to your daily workflow.
Dashboard Widgets
Section titled “Dashboard Widgets”On the dashboard, you can customize the displayed widgets:
- Click the gear icon on the dashboard
- Reorder, show, or hide widgets
- This way you see exactly what’s relevant to your daily work after login
Email Notifications
Section titled “Email Notifications”Under Notifications you control which emails you receive:
- Transcription completed
- Bot events (started, ended, error)
- LMS deadlines and reminders
- Additional categories depending on active modules
Bot via Email
Section titled “Bot via Email”Every user can set up a personal bot email address. Invite this address as a participant to an online meeting — the bot appears automatically at the right time.
-
Open Settings
User menu → Settings → Bot via Email section.
-
Generate email address
Click “Generate Email Address”. You receive a personal address. Example:
demo-do-not-use@bot.storyvault.eu. -
Set up sender whitelist
Enter the email addresses from which calendar invitations should be accepted. Only invitations from approved senders are processed — an important security measure.
-
Configure defaults
Specify which project bot recordings should go to, what session type they receive, and which recording mode (audio, video) the bot should use.
Learn more at Bot via Email →.
API Keys
Section titled “API Keys”API keys require the API module and either an Admin role or the API capability. Open API Keys in the administration area (/admin/api-keys) to create credentials for programmatic integrations.
-
Open the “API Keys” tab
This area requires the API module and permission to manage API keys.
-
Click “Create New Key”
Enter a name (e.g. “Claude Desktop” or “Data Export Script”). Optional: set an expiry date.
-
Copy the key
The key is only shown once and begins with
sv_. Copy it immediately and store it securely.
The complete API documentation is available under API Documentation in the sidebar or directly at /api-docs.
Organization-Wide Settings (Admin)
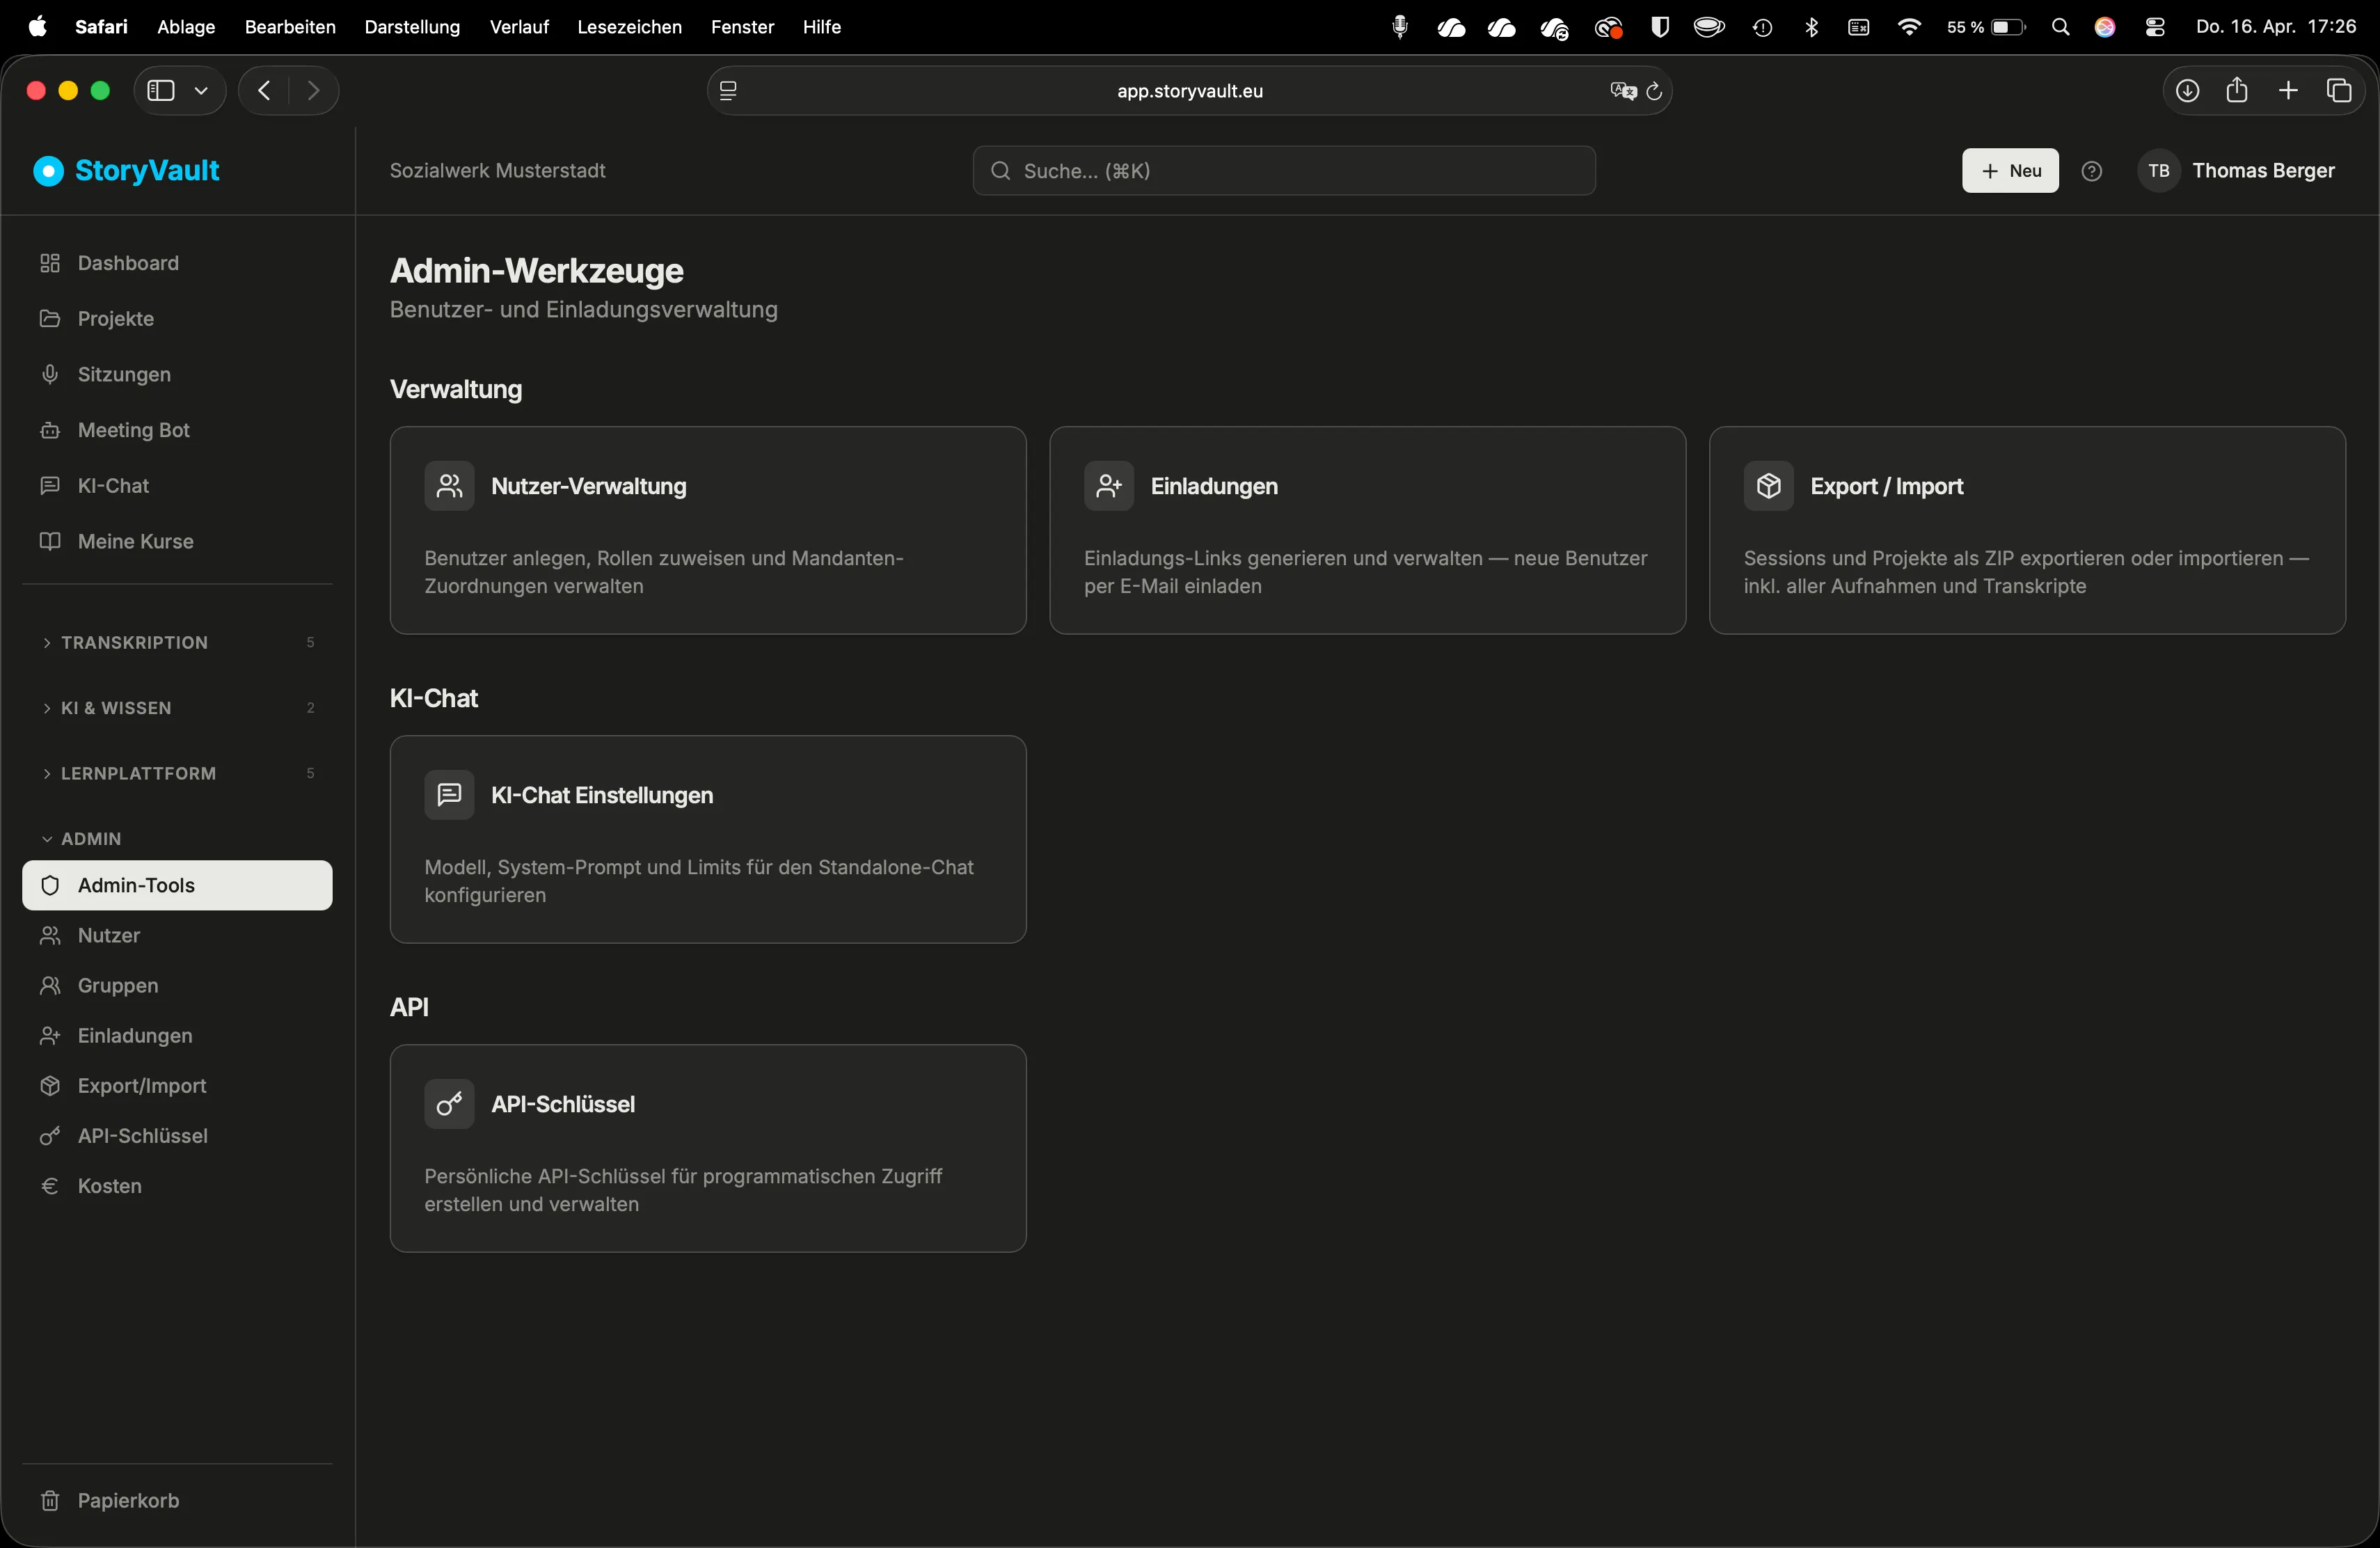
Section titled “Organization-Wide Settings (Admin)”As an administrator, you have access to additional configurations under Admin:
| Area | Description |
|---|---|
| Prompt Templates | Configure analysis templates for AI chat (e.g. “Summary”, “Tasks”, “Decisions”) |
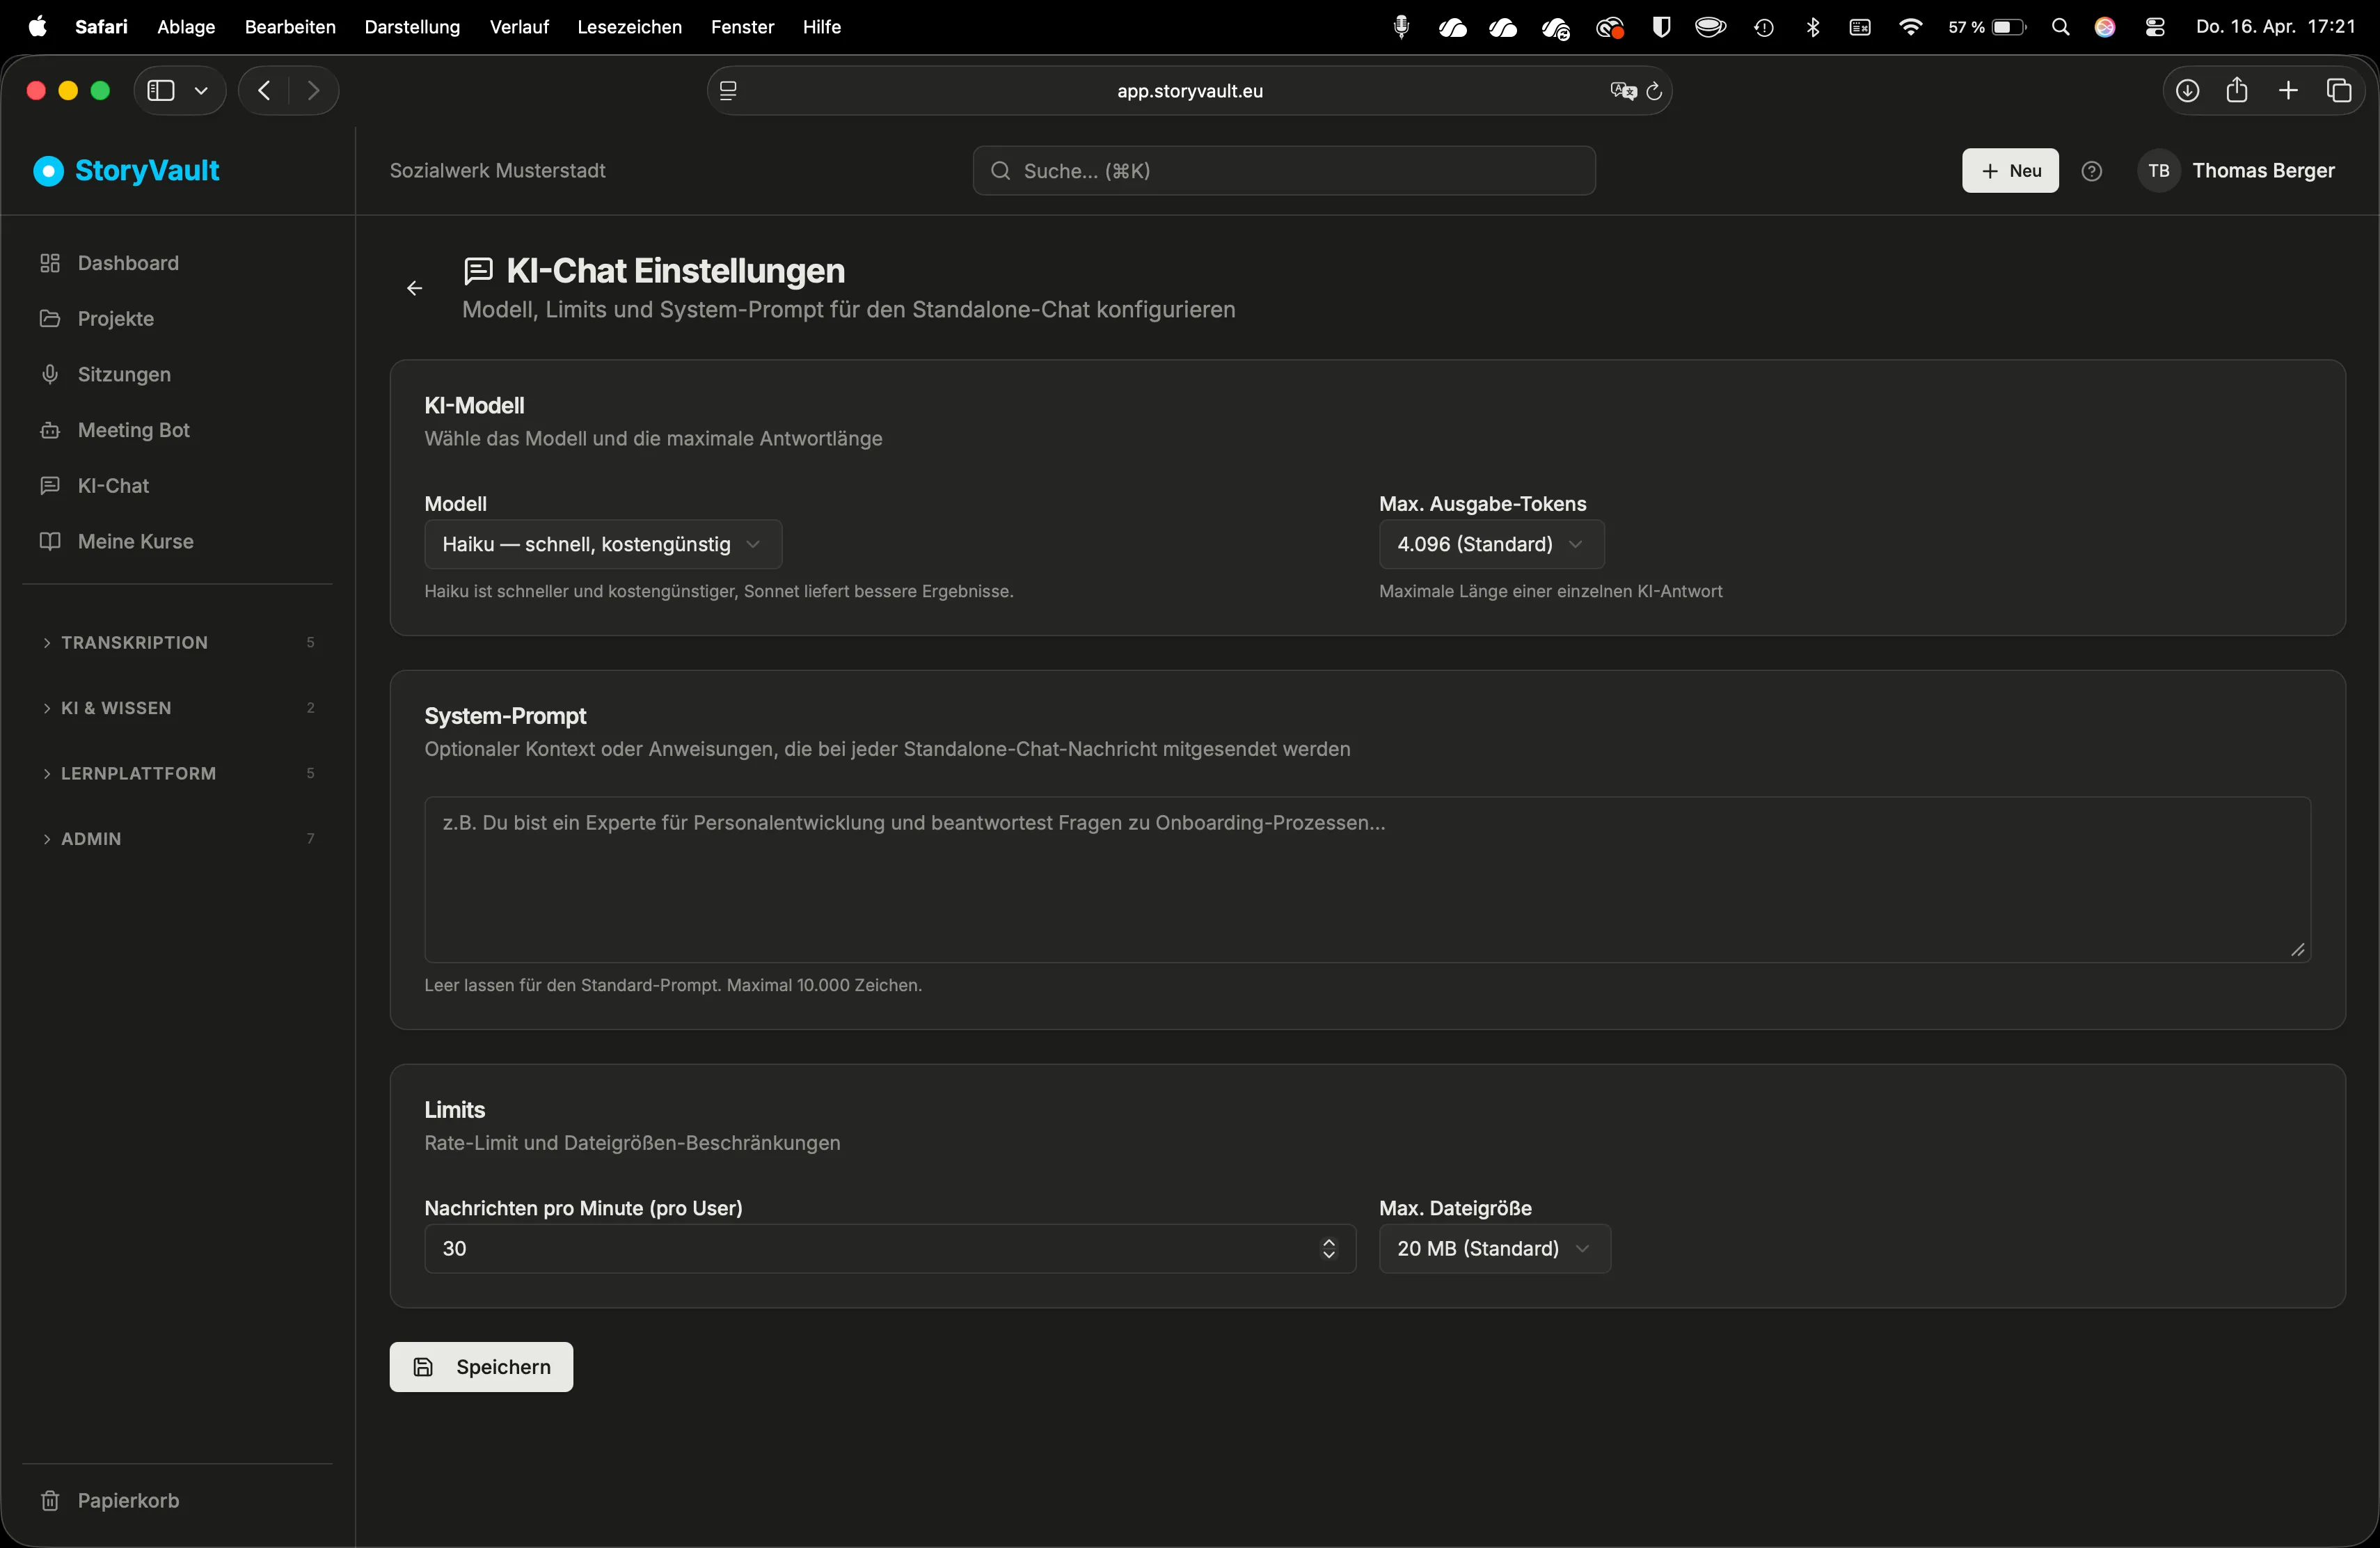
| Chat Settings | Manage approved chat and upload settings; available fields depend on your permissions |
| Modules | View activated modules for your organization (Core, LMS, AI, Knowledge, API, Data protection) |
Platform administration selects the concrete AI models. Model sizes help compare usage; they do not denote a permanently fixed model version. Transcription, AI analysis, and knowledge processing can be configured separately. A change for new requests does not regenerate existing transcripts. See Costs & Export.
When the Data protection module is active, project and session shield menus and the central privacy administration become available. See Data protection overview & DPA → for tenant policy and DPA responsibilities.
Further Reading
Section titled “Further Reading”- Users & Roles → — Managing users
- Costs & Export → — Usage and data export
- Bot via Email → — Meeting Bot via calendar invitation
- Frequently Asked Questions →
This page corresponds to the onboarding video “Module 7, Lesson 7.5 — Settings and Profile”.