Costs & Export
StoryVault provides a transparent cost overview so you can track your organization’s usage at any time. You can also export sessions and projects as a ZIP archive.
View usage and costs
Section titled “View usage and costs”As an administrator, open Admin → Costs. Use the month arrows to compare periods; Refresh reloads the current information.
What is broken down?
Section titled “What is broken down?”| Area | Usage shown |
|---|---|
| AI | Text units (“tokens”) for chats, summaries, analyses, and process tasks |
| Transcription | Processing of audio and video recordings |
| Knowledge processing (embeddings) | Preparing content for knowledge search |
| Meeting Bot | Recordings made by the Meeting Bot |
| Storage | Stored recordings and files |
AI usage is grouped into Small, Medium, and Large model sizes. A size can use different concrete models over time. Platform administration selects that mapping. Switching a model does not retrospectively change usage already recorded for the month.
The table also identifies the application, such as AI chat or process tasks. If you use several sizes in one month, they appear separately. Older entries without a size remain in the overview.
Budget and limits
Section titled “Budget and limits”The overview shows configured monthly budgets and limits for transcription, bot recordings, and storage. Green means normal usage, amber at least 80 percent, and red at least 100 percent of the relevant limit.
Reaching a limit can restrict new requests. Check the displayed notice and contact your StoryVault representative. Repeatedly starting the same request does not increase the available budget.
Who has access?
Section titled “Who has access?”The organization-wide overview is restricted to administrators. It shows usage for the currently selected tenant. Switch tenants first if you administer multiple organizations. Platform administrators additionally have a separate cost view with concrete models.
Storage full, insufficient credit or too many requests?
Section titled “Storage full, insufficient credit or too many requests?”| Message or symptom | First check | Next step |
|---|---|---|
| Storage limit reached | As an admin, check storage usage in the correct tenant | Discuss extra capacity or planned cleanup with your administrator. Do not delete originals without checking. |
| Insufficient budget or credit | Read the exact error and identify the affected job | Contact your administrator or StoryVault contact; resubmitting does not increase credit. |
| User/account limit reached | Check whether the error occurs when creating or inviting a person | The administrator reviews the allowance and existing accounts. This is not a storage error. |
| Rate limit / too many requests | Observe the specified waiting time | Retry once afterwards; report recurring errors with time and action. A rate limit does not prove insufficient credit. |
Displayed limits apply to the active tenant. Product help explains these distinctions but does not read your current usage, credit or invoices. Product help does not charge users AI credit; it has separate technical usage limits. A blocked paid processing job therefore does not automatically block help.
Exporting Data
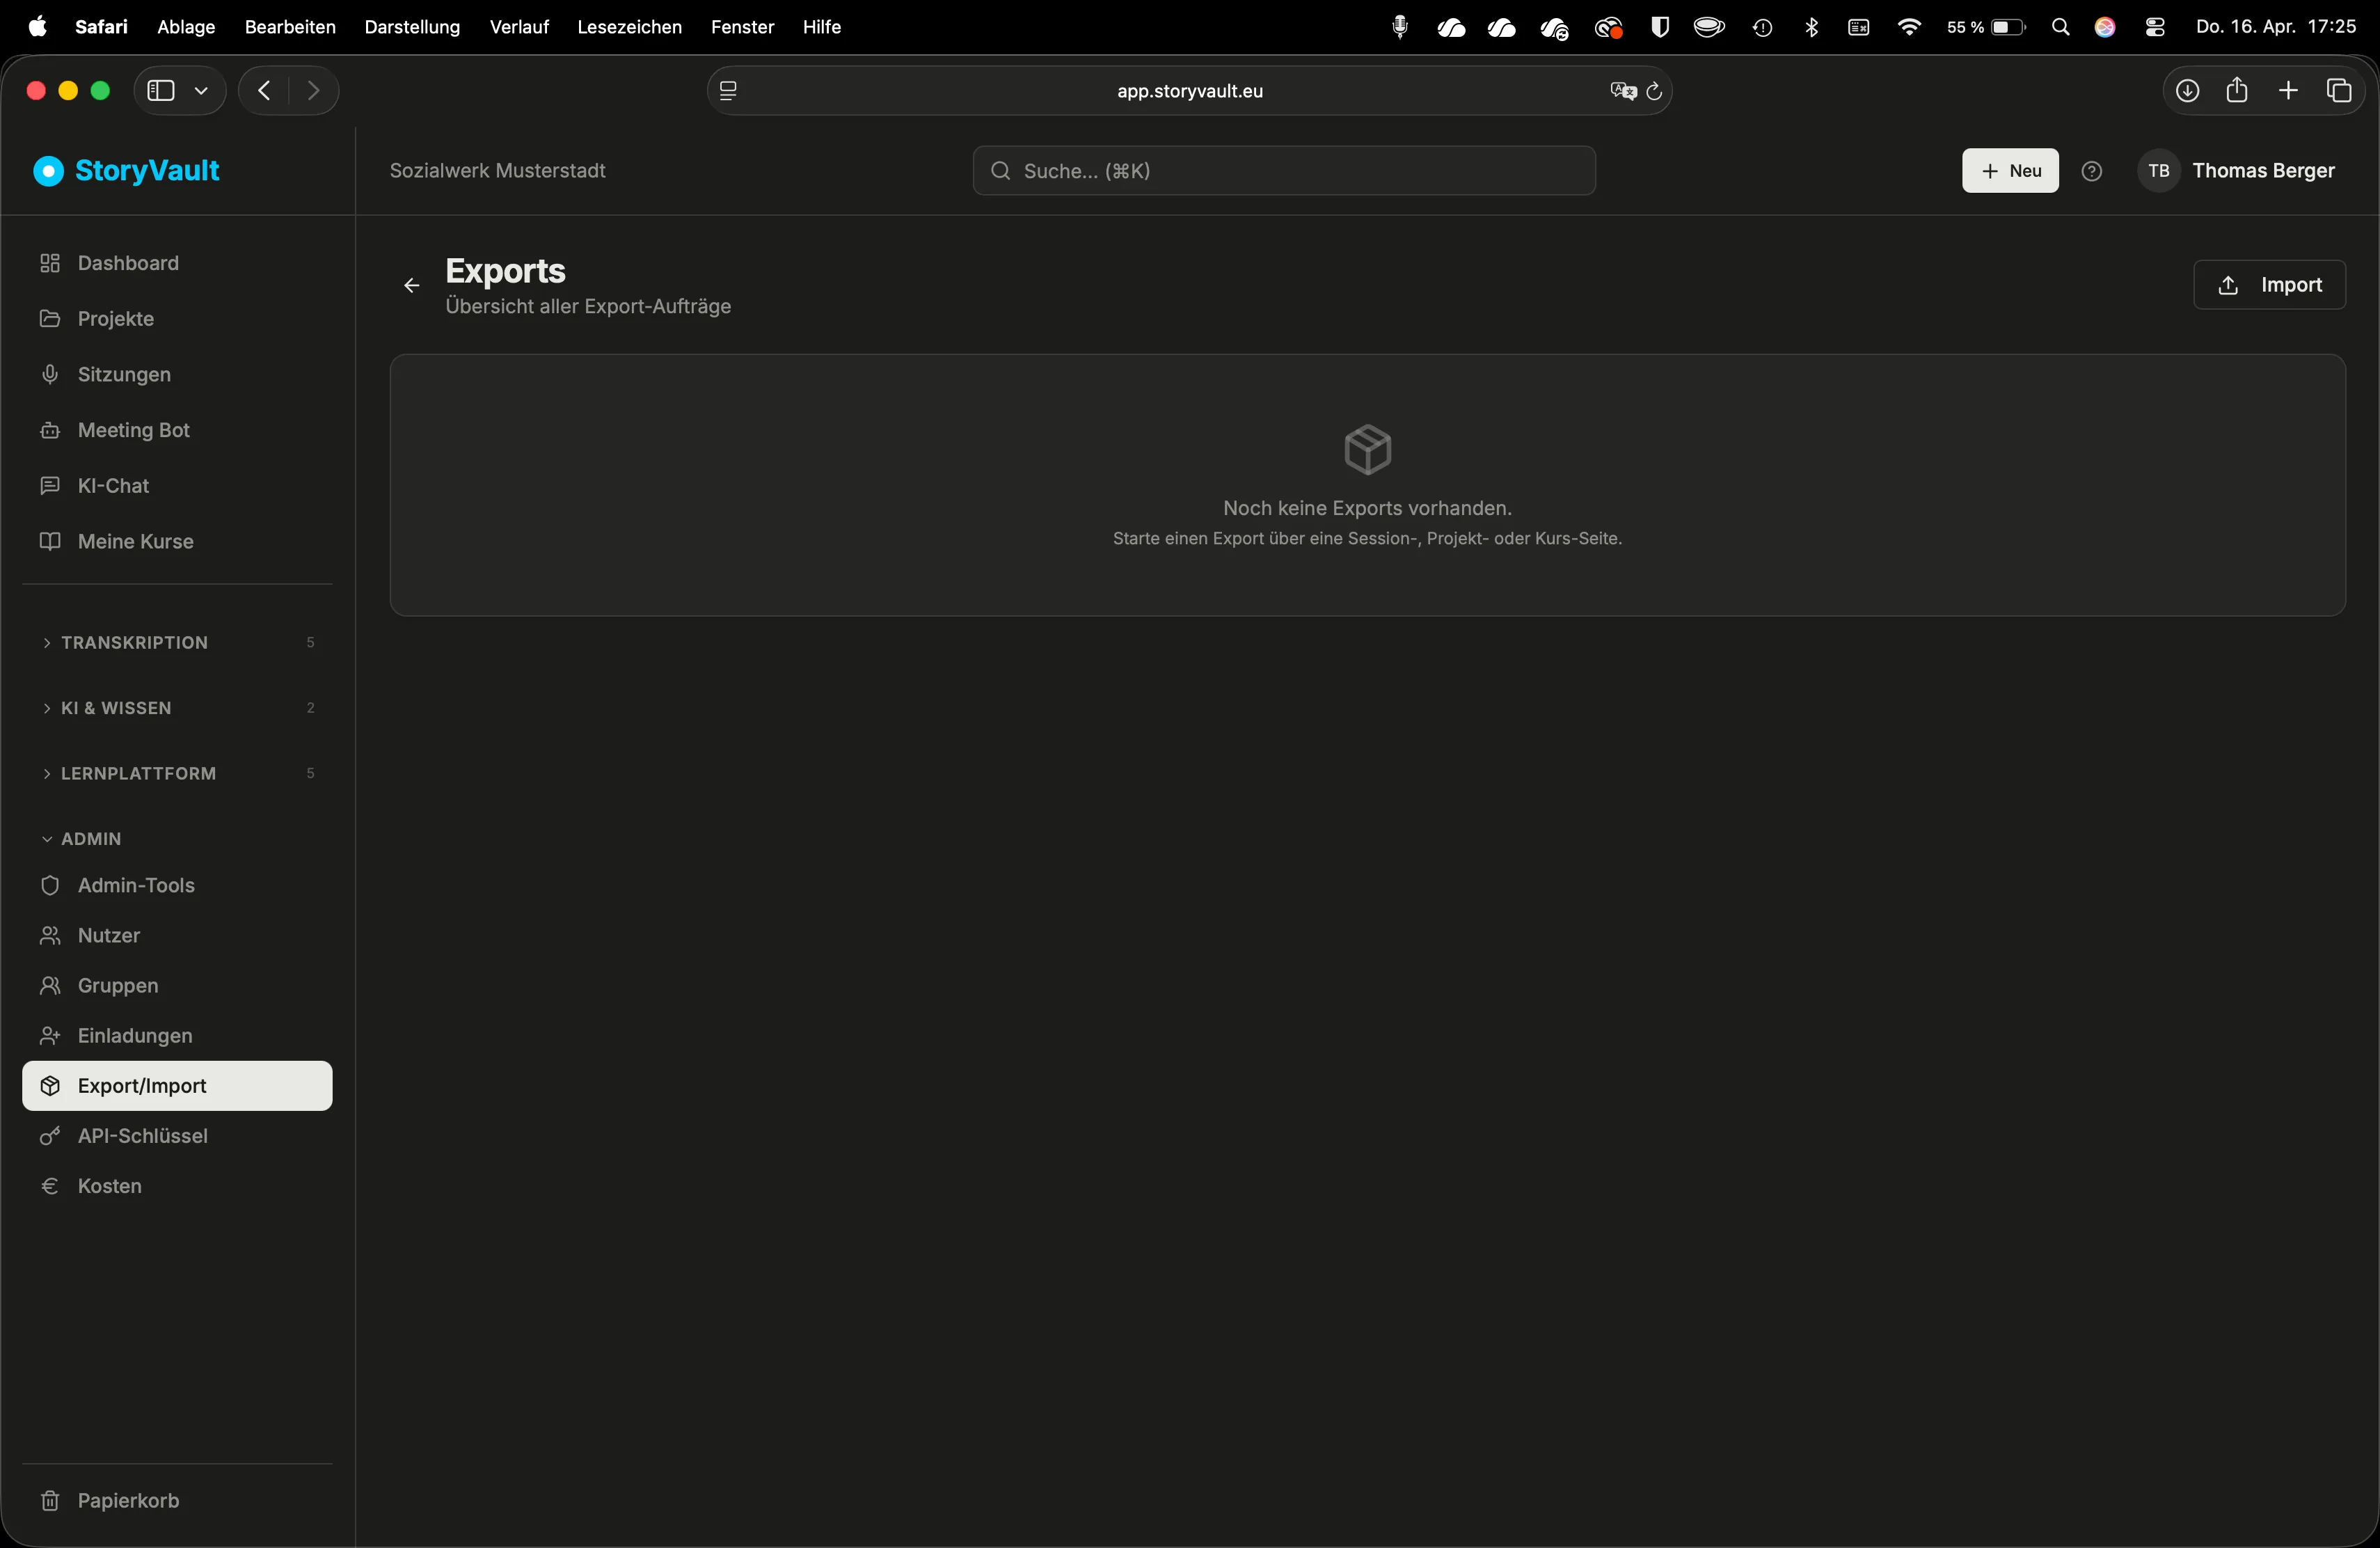
Section titled “Exporting Data”Under Admin → Export / Import you can download your data as a ZIP archive.
-
Open Export
Sidebar → Admin → Export / Import.
-
Choose what to export
Select what should be exported: sessions, projects, or both.
-
Start export
Click “Start Export”. Depending on the data volume, this may take a few minutes.
-
Download ZIP
Once complete, a ZIP file is provided for download. It contains all selected sessions with recordings, transcripts, and metadata.
What’s in the Export?
Section titled “What’s in the Export?”The ZIP archive contains per session:
- Audio file(s) or video file(s)
- Transcript as a text file
- Metadata (title, project, type, date, speakers)
Importing Data
Section titled “Importing Data”Under Admin → Export / Import, administrators can import a StoryVault ZIP again. For small and medium-sized files, select the ZIP in the browser as usual. For very large files or transfers between environments, you can enter a public HTTPS URL instead.
Import ZIP by URL
Section titled “Import ZIP by URL”- Open Admin → Export / Import.
- Switch to ZIP by URL.
- Paste a public
https://URL for the ZIP file. - Start the download. You can close the window afterwards.
- Once the ZIP is ready, it appears under My Imports and you also receive an email with a link back to the preview.
- Review the preview and start the import only after confirming it.
Staged ZIPs are deleted after a successful import. If an import is not continued or fails, temporary files are cleaned up after 24 hours.
Further Reading
Section titled “Further Reading”- Users & Roles → — Who can see what
- Settings → — Budget and organization settings
This page corresponds to the onboarding video “Module 7, Lesson 7.4 — Costs, Exports, and Chat Settings”.