Set Up Claude
With individual sign-in, you choose which of your StoryVault organizations Claude may use. Read access is sufficient for the first test. Your existing project and user permissions apply as well.
The screenshots show the German interface. The steps below include the English labels and explain the selections shown.
Connect Claude to StoryVault
Section titled “Connect Claude to StoryVault”-
Add the connector in Claude
Open Customize → Connectors → Add → Add custom connector and name it StoryVault. Team/Enterprise accounts may first require an authorized person to add the web connector for the organization. Then choose Connect with your own account.
-
Enter the StoryVault address
Use this address and select OAuth sign-in:
https://app.storyvault.eu/mcp/sseIndividual browser sign-in does not require an API key or a custom
Authorizationheader. -
Sign in to StoryVault
Sign in with your StoryVault account in the browser that opens. If your account uses Microsoft sign-in, choose Sign in with Microsoft. Forgot password? opens password recovery. Signing in alone does not grant Claude access.
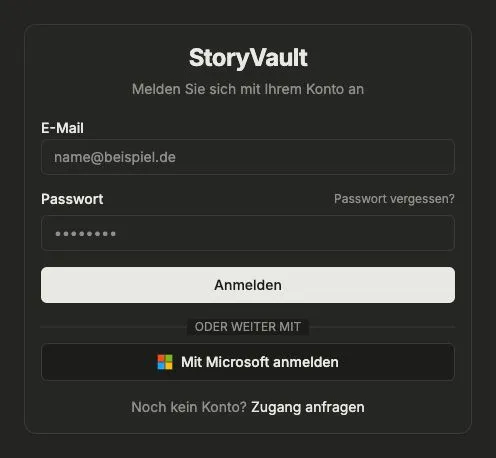
Current StoryVault sign-in screen. You choose the permitted access in the next step. -
Approve organizations and permissions
In Authorize connector, confirm that Claude is the requesting app. Select at least one organization deliberately. For the example analysis, Sozialwerk Musterstadt is sufficient. Leave the other organizations unchecked.
Leave Also allow writing off when Claude should only search, read and summarize. Enable it only when Claude should also modify data within your existing permissions. This can include deleting data, changing sharing permissions and starting AI runs. Approval does not replace missing permissions or modules.
Check Valid until and select Allow access. Deny ends this connection attempt without creating a new permission. Connection details shows the technical client and callback information.
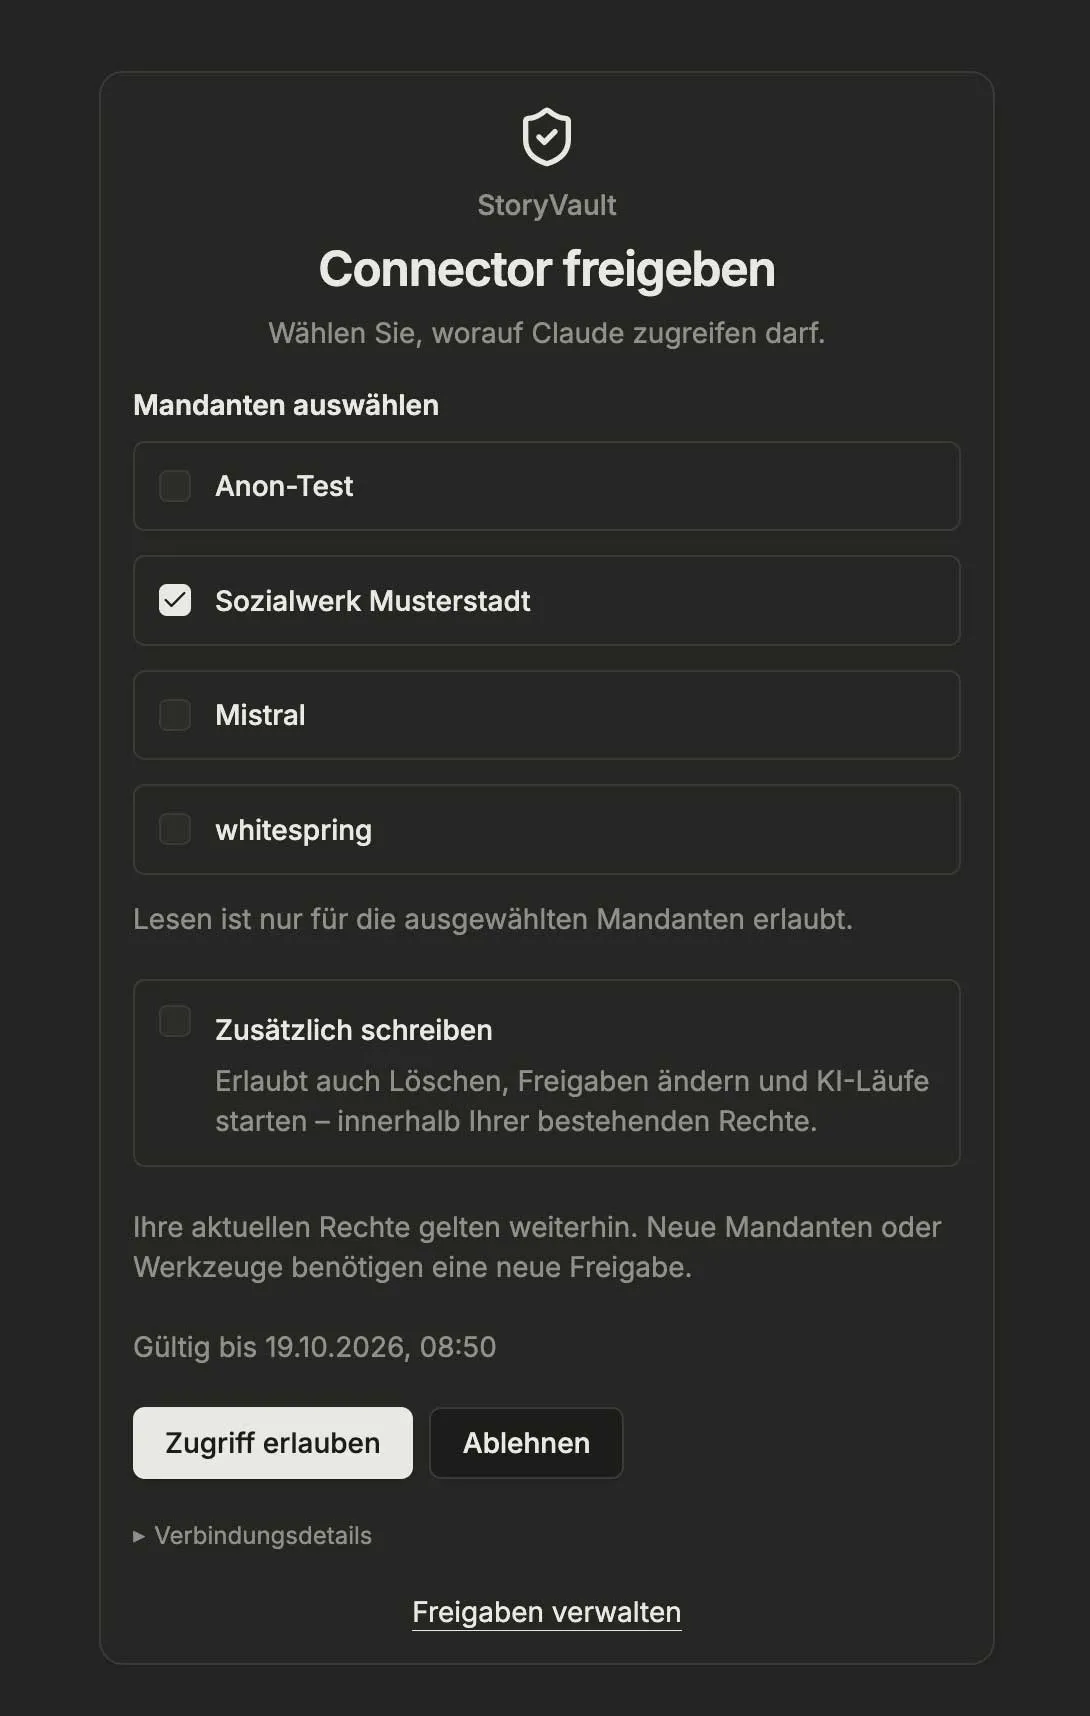
Example from 12 October 2026: only Sozialwerk Musterstadt is selected for read access; approval follows when Allow access is chosen. The organization list and expiry date depend on your account and sign-in time. “Zusätzlich schreiben” means “Also allow writing”. -
Test in Claude
Return to Claude after approval and enable StoryVault for the conversation. Ask, for example:
Which projects can I see in the Sozialwerk Musterstadt organization?Compare the answer with StoryVault. Start with a project whose contents you know.
What can Claude do after approval?
Section titled “What can Claude do after approval?”| Selection | Effect |
|---|---|
| One organization selected | Claude can access only that organization, within your permissions there. |
| Several organizations selected | Claude can use the approved organizations. Name the intended organization in your request. |
| Also allow writing off | The permission allows reading. Writing tools cannot be used through it. |
| Also allow writing on | Available write actions are allowed within your current StoryVault permissions. Review the specific action in Claude. |
New organizations and new tools are not automatically added to an existing permission. To change access, reconnect Claude and approve the desired selection. Explicitly revoke an earlier permission if it should no longer apply.
Content retrieved through the connector is processed by the connected AI service. Use only content your organization has approved for that service.
Find and revoke permissions
Section titled “Find and revoke permissions”In StoryVault, open Profile → Connected apps → Manage permissions. You can also open Connector permissions directly. The consent screen offers Manage permissions at the bottom as well.
- If Confirm sign-in appears, choose Sign in again. Managing permissions requires a sign-in within the last ten minutes. You return here automatically after signing in.
- Check the client name, Approved tenants, Granted permissions and Valid until. Active permission means access is allowed. It does not mean Claude is currently connected.
- Choose Revoke access for the relevant app and confirm in the dialog. Cancel keeps the permission active.
- Once confirmed, that permission loses access immediately, including in an existing MCP session. Other permissions remain active. Reconnecting requires new approval.
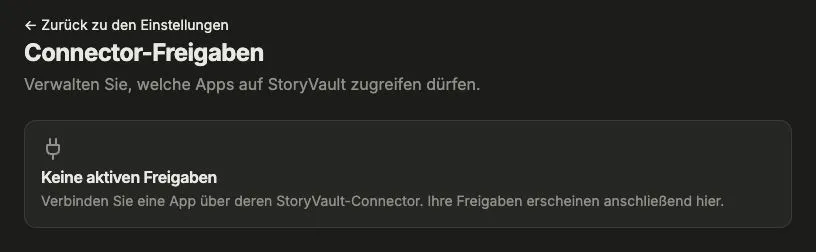
Revocation prevents further access. It does not remove content already copied into a Claude conversation.
Expiry and signing in again
Section titled “Expiry and signing in again”A permission lasts for at most seven days from sign-in. Check the date shown under Valid until. During that period, a supporting client automatically renews its short-lived access tokens. Afterwards, sign in again and approve access. Changing your password also invalidates earlier OAuth access.
API key alternative
Section titled “API key alternative”Use an API key only if your client does not offer browser sign-in or your organization requires this method. If authorized, create your own key under User menu → API Keys. First switch to the intended organization: the key remains bound to it. The full key is shown only once.
If the client offers Request headers, set Authorization to Bearer YOUR_API_KEY. This placeholder is not a key. The OAuth consent and revocation screens shown above do not manage API keys. Revoke those separately under API Keys.
- Create a separate key for each application and device, with a recognizable name.
- Store it only in the intended credentials field or a password manager.
- Do not send it by email or chat, and do not include it in screenshots.
- Shared fixed credentials give everyone using the connection the same account’s permissions. Prefer individual sign-in.
For Claude Desktop and claude.ai, use the web connector. A bare url entry in claude_desktop_config.json is not a local Desktop server configuration. See Anthropic’s current instructions for the interface and prerequisites (checked 12 October 2026).
Troubleshooting
Section titled “Troubleshooting”| Problem | Solution |
|---|---|
| Allow access is disabled | Select at least one available organization. |
| No organization is offered | Check API access and permissions with your StoryVault contact person. |
| Restart connection appears | Restart the flow in Claude. An expired or already used consent page cannot be reused. |
| Sign-in does not open | For browser sign-in, remove any Authorization headers and start the connection again. |
| Confirm sign-in in permission management | Sign in again. This protects permission management even when you have an older web session. |
Unauthorized or Authentication required with OAuth |
The permission may have expired or been revoked. Reconnect Claude and approve the desired access. After deliberate revocation, denied access is expected. |
Unauthorized with an API key |
Check that the key was copied in full and is still active. If needed, replace and revoke it under API Keys. |
| Reading works, editing does not | Check Also allow writing, the required module and your StoryVault permissions. Broader connector access needs new approval. |
| Expected content is missing | Check approved organizations and project access. Switching organizations in the web app does not expand connector permissions. |
| StoryVault is missing from the conversation | Check the URL and enable the connector for that Claude conversation. |
| Too many attempts / HTTP 429 | Wait for the indicated period, then try again. |