Meeting Bot
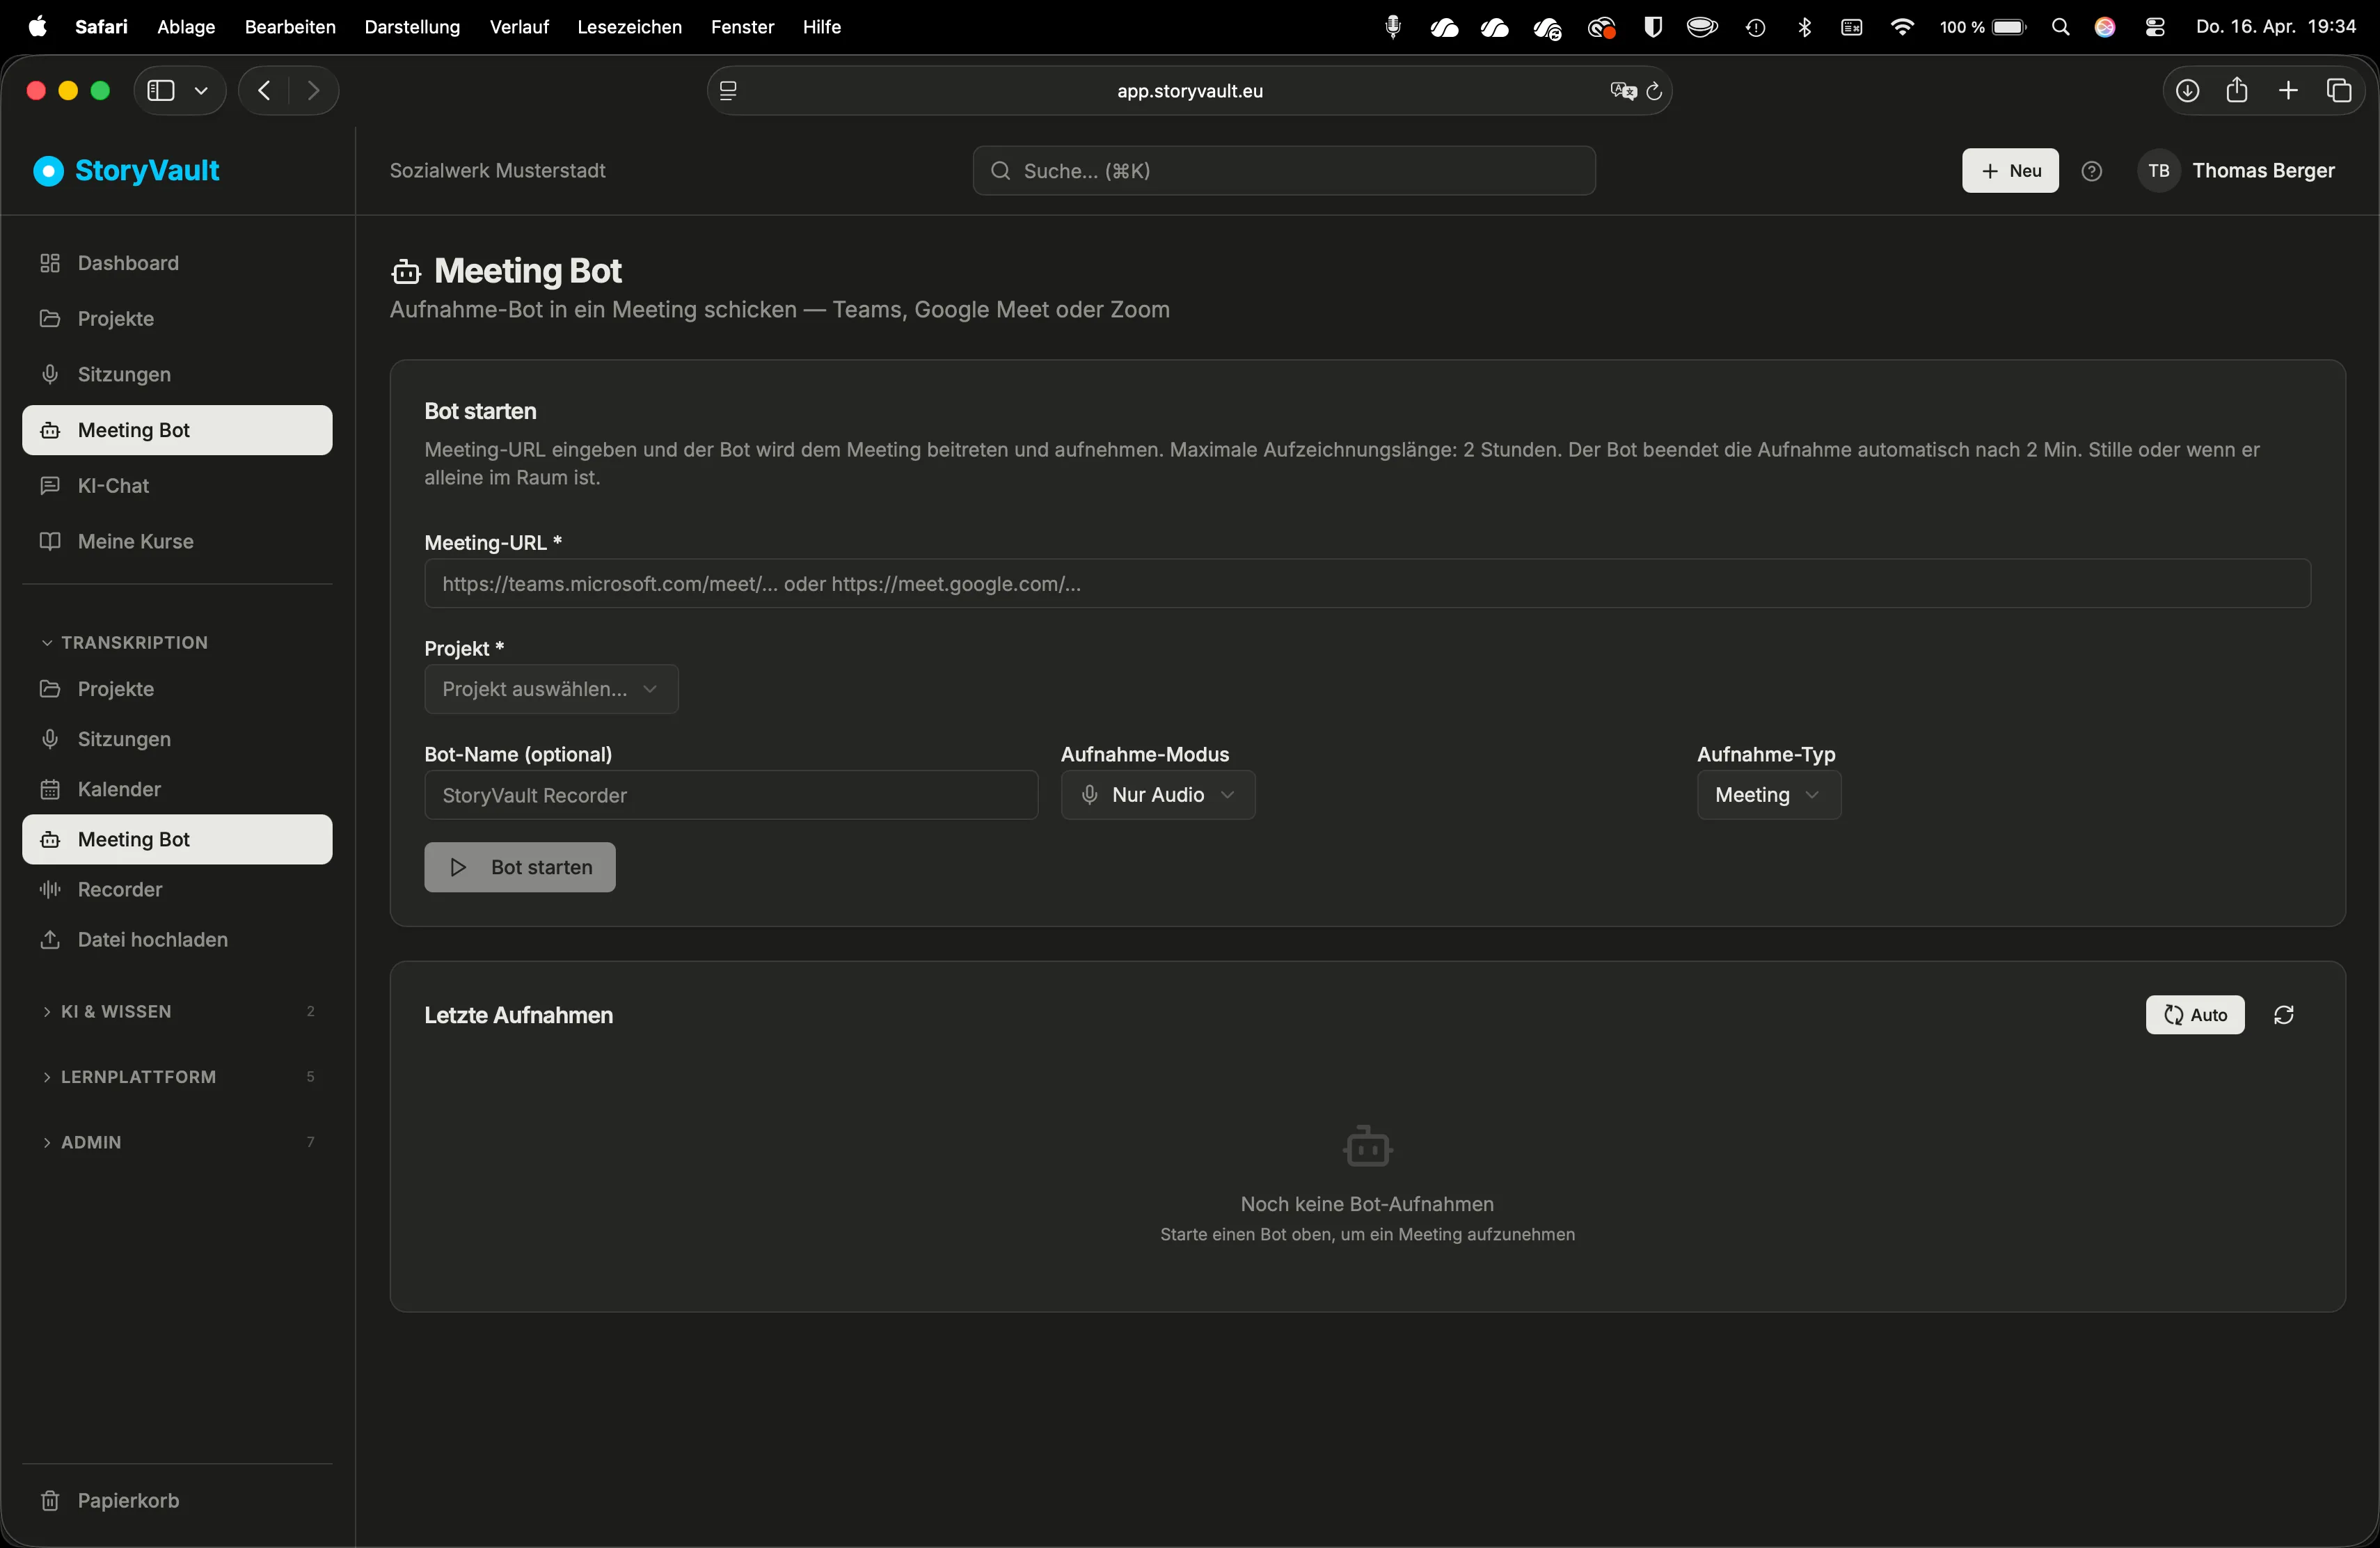
The Meeting Bot joins your online meeting as a participant and records automatically. Simply enter the meeting link — the bot takes care of the rest.
Supported platforms: Microsoft Teams, Google Meet, Riverside Studio.
How It Works
Section titled “How It Works”-
Open Meeting Bot
Sidebar → Meeting Bot.
-
Paste the meeting URL
Paste the link from your calendar invitation. Accepted hosts:
teams.microsoft.com/teams.live.commeet.google.comriverside.com/riverside.fm(Studio links)
Only
https://URLs are accepted. -
Choose options
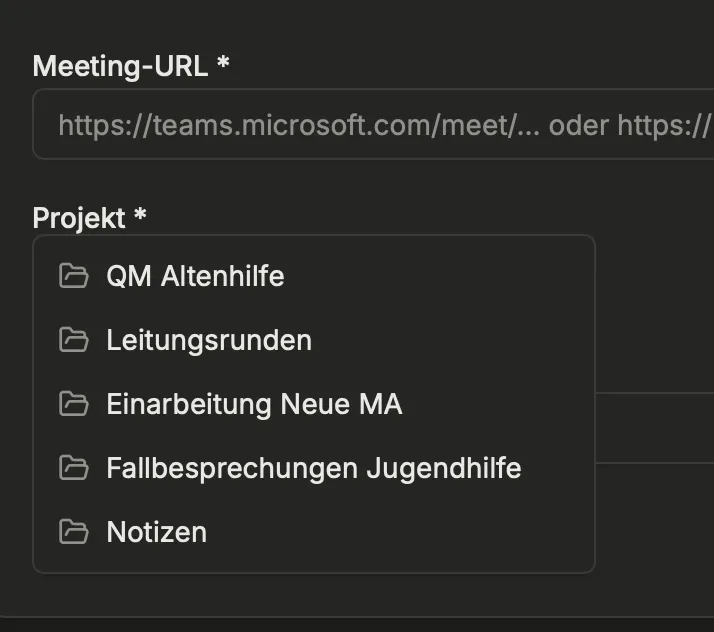
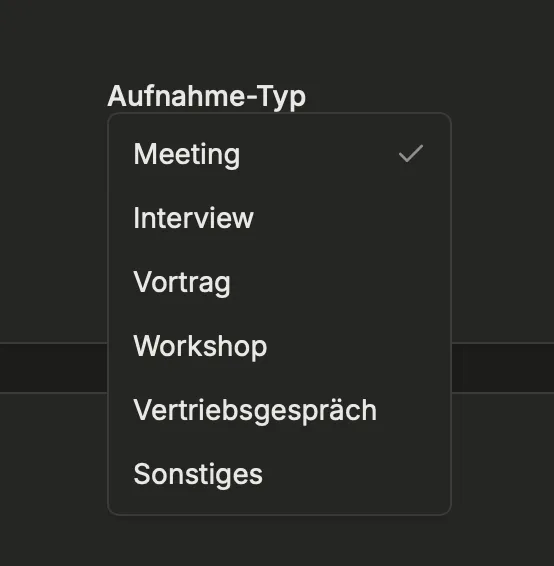
- Project and session type as with uploads
- Recording mode: Video + Audio, Audio Only, Screen Only
- Bot name: Default is “StoryVault Recorder” — can be customized (e.g., “Minutes Assistant”)
-
Start the bot
Click “Start Bot”. In the table, you’ll see the status: “Starting” → “Running”.
Stopping the Bot
Section titled “Stopping the Bot”- Normal stop: Clean finish — the recording is finalized and available as a session. For all users with Manager role or higher.
- Forced stop: Only for emergencies, admins only. The recording will be lost.
Automatic Safety Nets
Section titled “Automatic Safety Nets”The bot can leave after waiting in a lobby, remaining without other participants or prolonged silence. Timeouts are configured per environment; there is no universal two-minute rule. The technical default for silence is ten minutes but can differ. Recordings shorter than 30 seconds are discarded.
If recording ends unexpectedly, check the bot status and reason. For repeated failures, report time, platform and status. Force stop is not a safe default for an important recording.
Schedule Bot via Email
Section titled “Schedule Bot via Email”Even more convenient: invite your personal bot via calendar invitation. Learn more at Bot via Email →.
Further Reading
Section titled “Further Reading”This page corresponds to the onboarding video “Module 2, Lesson 2.3 — Meeting Bot”.