Upload Your First Recording
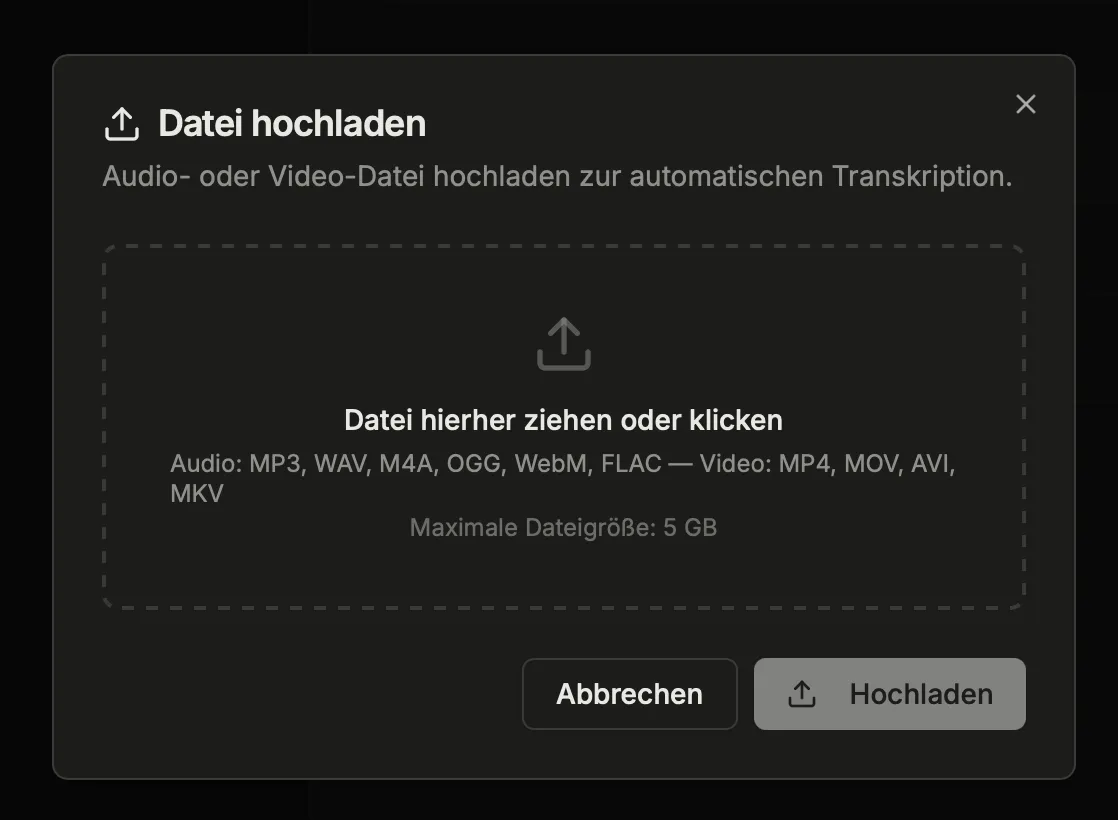
The fastest way to your first transcript: upload an existing recording. StoryVault processes all common formats.
Supported Formats
Section titled “Supported Formats”| Audio | Video |
|---|---|
| MP3, WAV, M4A, OGG, WebM, FLAC, AAC | MP4, MOV, AVI, MKV, WebM |
For videos, audio is automatically extracted and transcribed. The video remains available as a player.
Step by Step
Section titled “Step by Step”-
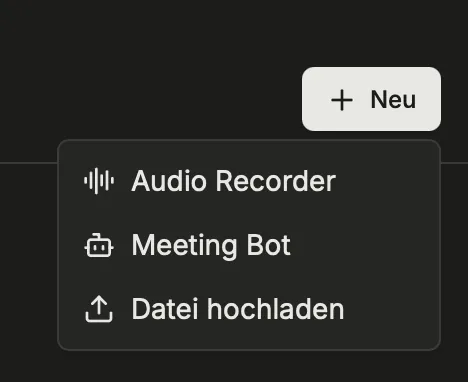
Open the upload dialog
Click “Upload File” on the dashboard or use the plus button in the top bar.
-
Select a file
Drag and drop the file into the dialog or click “Select File”.
-
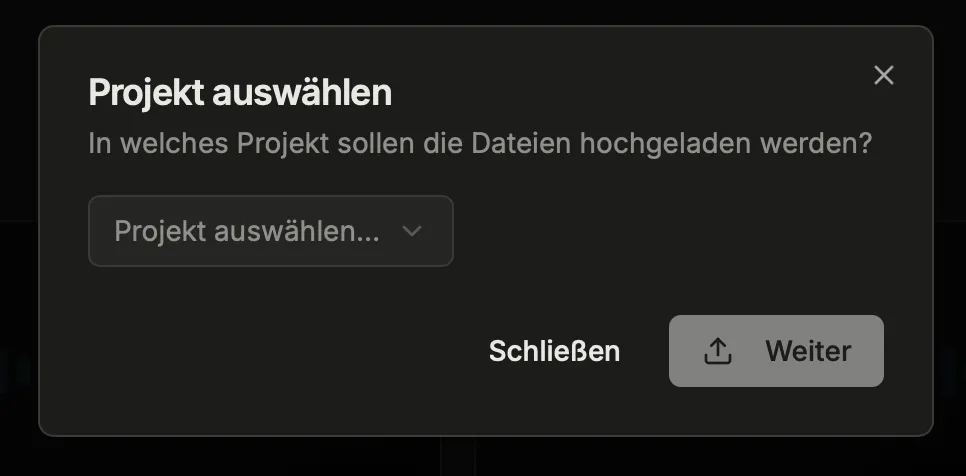
Enter details
- Title — automatically taken from the filename, can be adjusted
- Project — select an existing project or the default project “Notes”
- Type — Meeting, Interview, Lecture, Workshop, Note, etc. The type determines which AI analyses are available.
-
Upload
Click “Upload”. The progress bar shows the upload status. Transcription starts automatically in the background.
After the Upload
Section titled “After the Upload”In the session list (Sidebar → Sessions), you’ll see your recording with the status:
| Status | Meaning |
|---|---|
| Created | Upload completed |
| Processing | Audio is being processed |
| Transcribing | Speech is being recognized |
| Completed | Transcript is ready |
The list updates automatically — no manual refresh needed.
Multiple Files at Once
Section titled “Multiple Files at Once”You can also upload multiple files as one combined session — for example, if a meeting was recorded in several parts. Learn more at Upload Multiple Files.
Next Step
Section titled “Next Step”Your transcript is ready? Continue to Reading and Navigating the Transcript.
This page corresponds to the onboarding video “Module 1, Lesson 1.2 — Upload Your First Recording”.