Editing Lesson Content
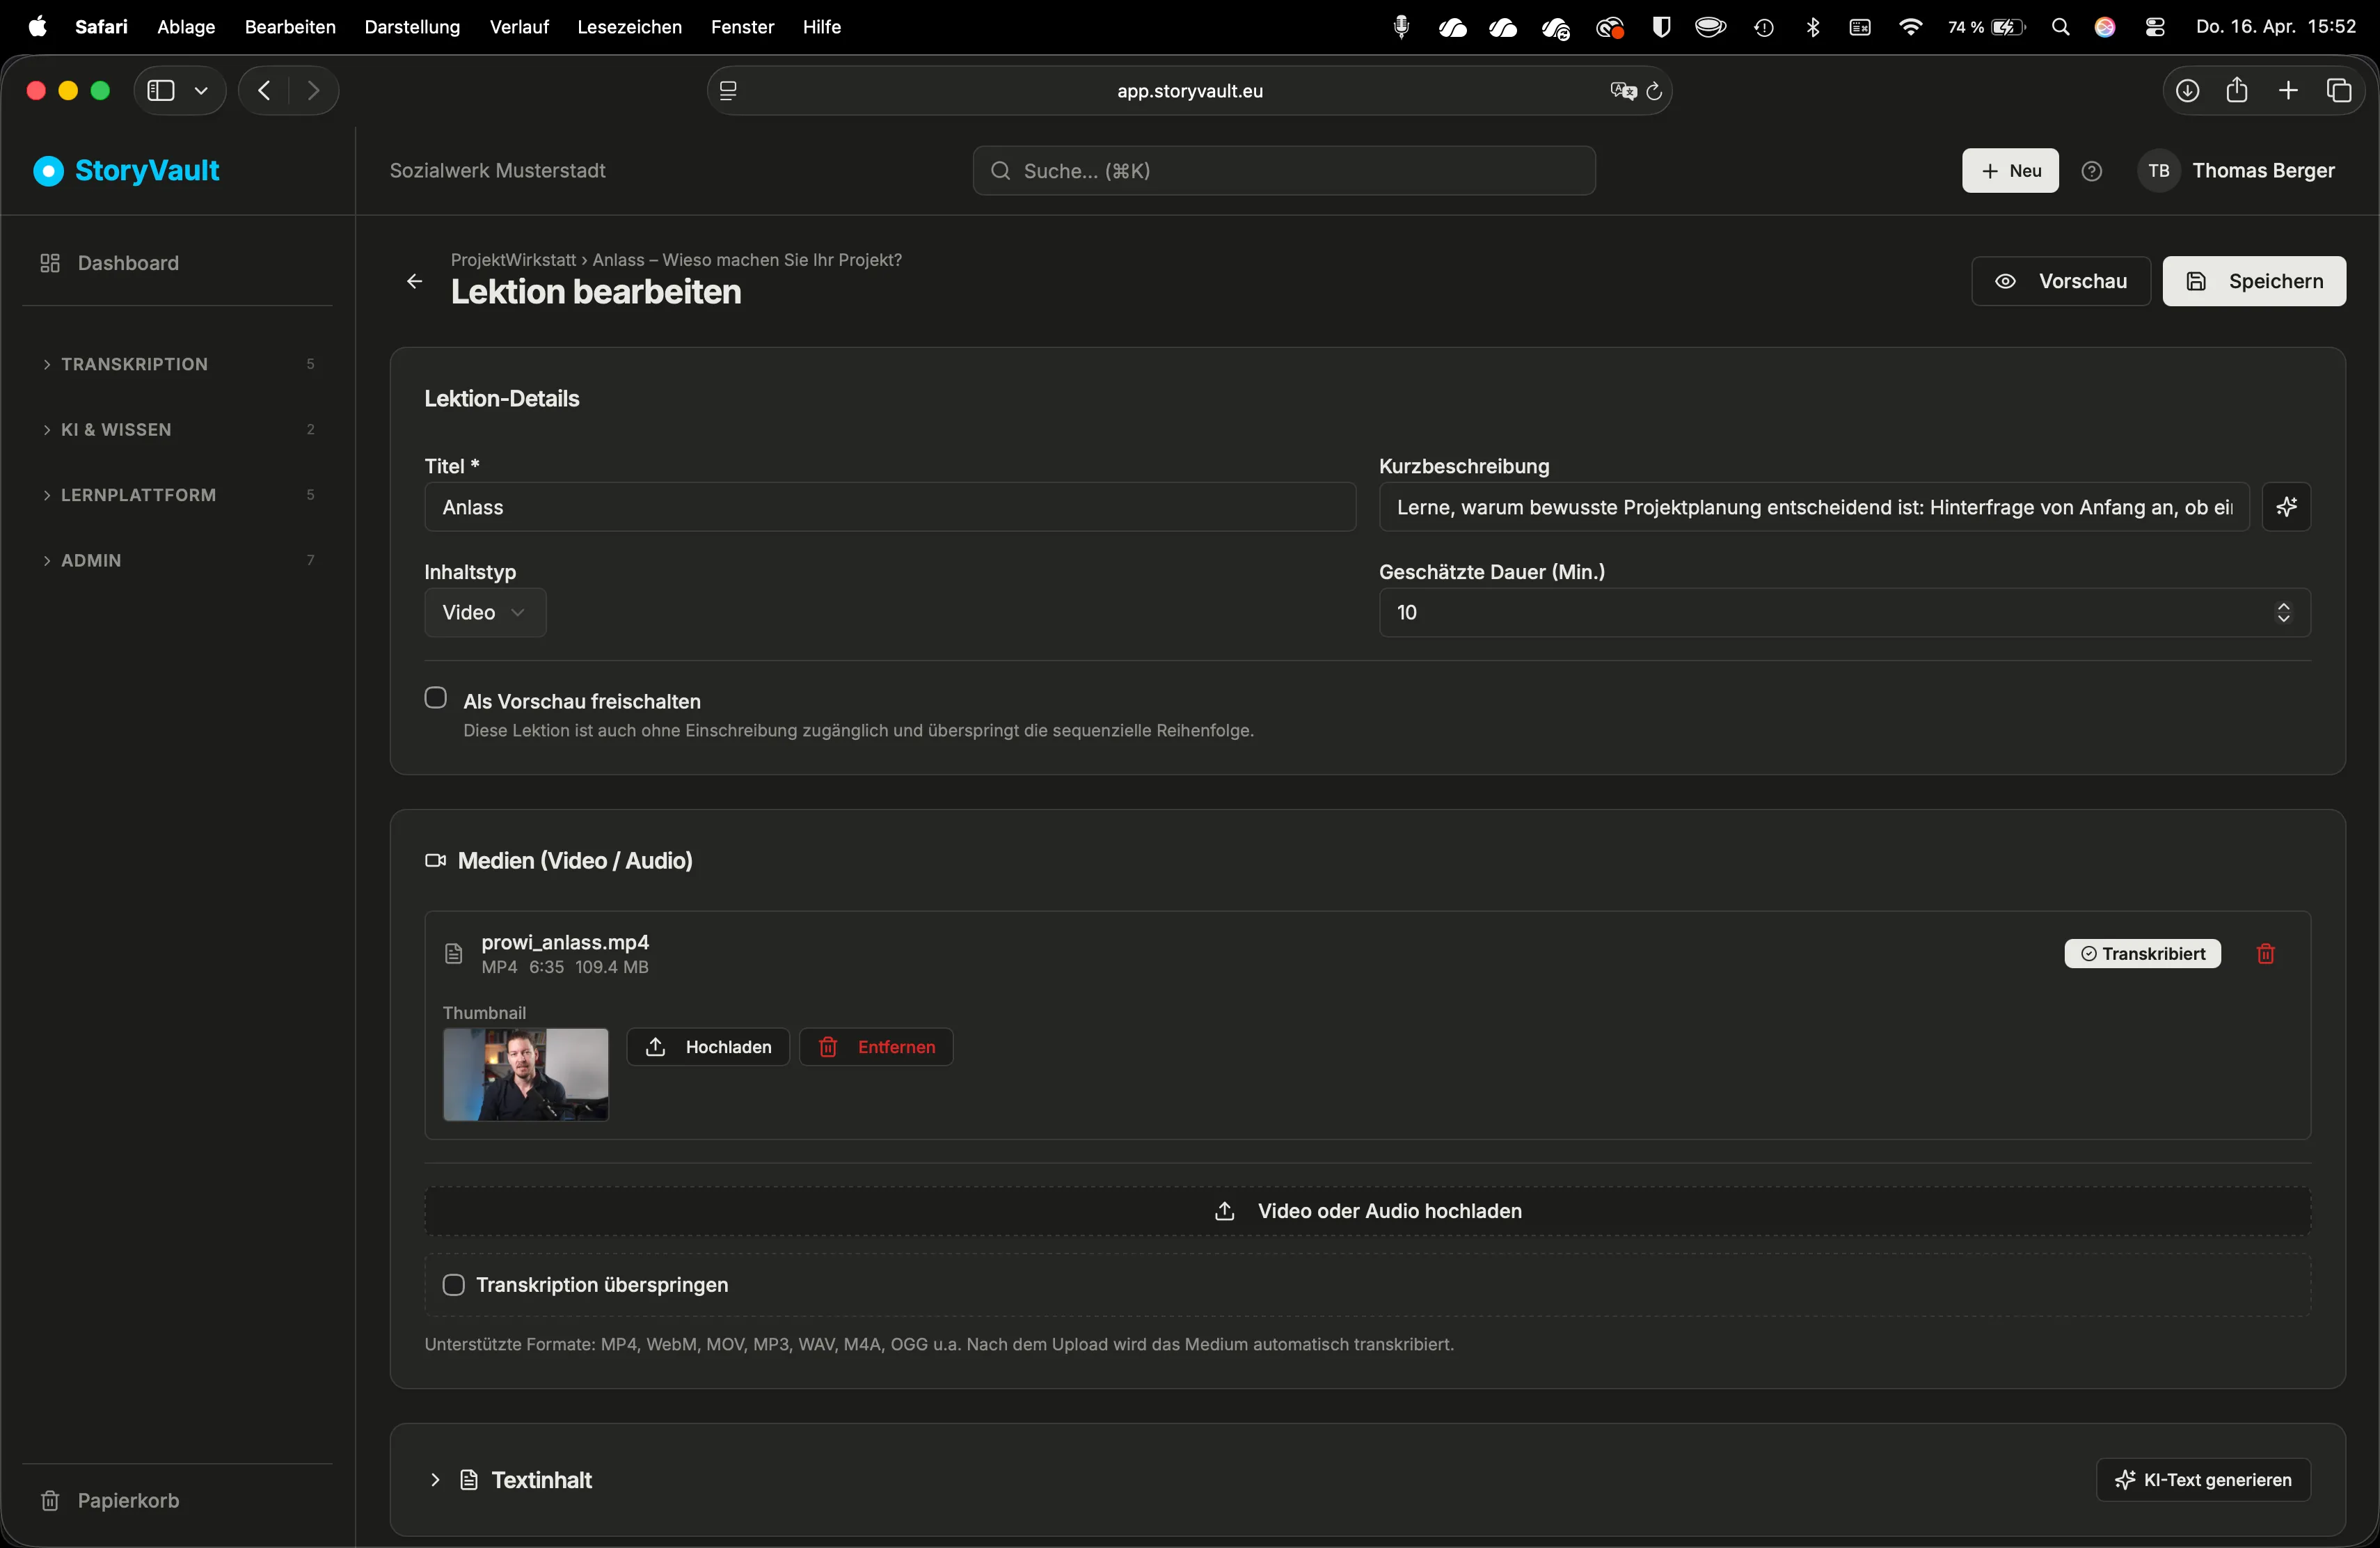
Each lesson can have two types of content: written text and a media assignment. The combination of both makes learning in StoryVault especially effective — your employees watch a video, follow along with the transcript, and have the supplementary lesson text alongside.
Opening a Lesson in the Editor
Section titled “Opening a Lesson in the Editor”Navigate to your course and click on the lesson you want to edit. The editor shows three areas:
- Lesson text — the written learning material
- Media assignment — link to an existing session
- Estimated duration — helps learners gauge their time commitment
Writing Text
Section titled “Writing Text”-
Open the editor
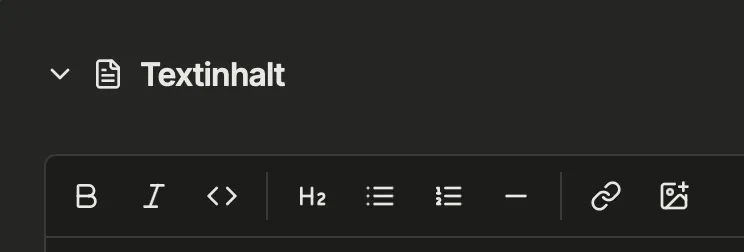
The text editor offers formatting options: headings, lists, bold and italic formatting.
-
Enter the learning material
Write the actual learning content. Structure the text with headings and bullet points for better readability.
-
Save
Changes are applied when saved.
Typical Workflow
Section titled “Typical Workflow”Here’s how a complete lesson is created in practice:
-
Record a training session
For example, record a hygiene training as a video and upload it to StoryVault.
-
Wait for transcription
StoryVault automatically creates the transcript.
-
Create a lesson
Create a new lesson in the course and assign the recording as media.
-
Write supplementary text
Add key points, checklists, or further notes as lesson text.
-
Set the duration
Enter the estimated processing time (e.g., “15 minutes”).
-
Add a quiz
Optionally create a knowledge check — see Create Quiz Questions.
What Learners See
Section titled “What Learners See”The finished lesson shows:
- At the top, the player with video or audio
- Below that, the synchronized transcript (text scrolls automatically)
- Next to it, the lesson text with supplementary information
- At the bottom, the “Complete” button that starts the knowledge check (if questions are set up)
Further Reading
Section titled “Further Reading”This page corresponds to the onboarding video “Module 6, Lesson 6.2 — Editing Lesson Content”.